Hi!
It's been a while eh?

Unfortunately Uni (and life) got a bit hectic and I've struggled to find some quiet time to sit down and write a post. However, I have firmly placed my arse on a chair, placed a cup of tea by my side and have my hands poised on the keyboard. I'm ready to give you all the juicy project updates and build write-ups of the past few months (year?!).
So despite being at university for an entire academic year to study model making... I don't have many models to show for it! I am quite pleased with the stuff I made, but I don't feel I have learnt as many new skills as I'd have liked.... Lots of "Self directed study" and barely any tuition is not exactly what I had expected. One of the most memorable lessons was an hour long sit-down lecture about glue. Apparently it's used to stick one thing to another thing! Who would have known eh?
Oh well, I guess I can't complain. I am getting to spend 3 wonderfully financially worry free years making whatever I want (within the university brief of course).
So we have to write a build-log for everything we make at uni so I think I will post that here. It's not as detailed as my usual posts, but I feel they may have been a bit long anyway! We also have to make a design and research book too so once I have time I'll scan the books and post them here too.
My first big project was to create a Faberge egg. Here is a shortened version of the brief we received:
You are asked to design and make your interpretation of a Faberge egg, which must be between 15 and 18 cm long.
Process:
Research & Design:
Your egg should represent a specific style or era, and you will need to show research that informs and supports your final design. Ideas and inspiration could come from cultural references such as the Aztecs, Assyrians, Art Nouveau, etc., or from a time you wish your model to represent, i.e., perhaps the 1920s, 1960s, or the future. There should also be something inside your egg such as a gift.
I decided (maybe stretching the outlines of the brief just a little bit!) to make an egg shaped futuristic 70s caravan. Don't ask me where I get my ideas from 😆.
Here are some pictures of the final model:


So now that you have seen the model, lets get into how I went about making it!
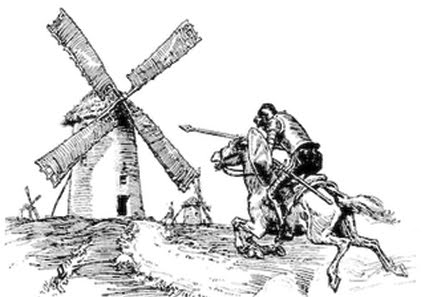
After mulling over a few design ideas - from a Don Quixote windmill diorama to an egg which would have a model of an outdoor cinema (complete with working screen) I chose to make my egg into a 70s caravan.

Time to dive into the land of Psychedelia, flower power, earthen colors and pot plants!

After completing my in-depth research of the era in my design book I drew out my final design for the caravan from different angles. I knew that one of trickiest things about this build would be trying to fit the caravan’s various interior parts into the egg shape. I knew that If I jumped into making the model straight away I would run the risk of wasting a lot of expensive materials and the end result may be compromised. To solve this, I decided I would make a sketch model.
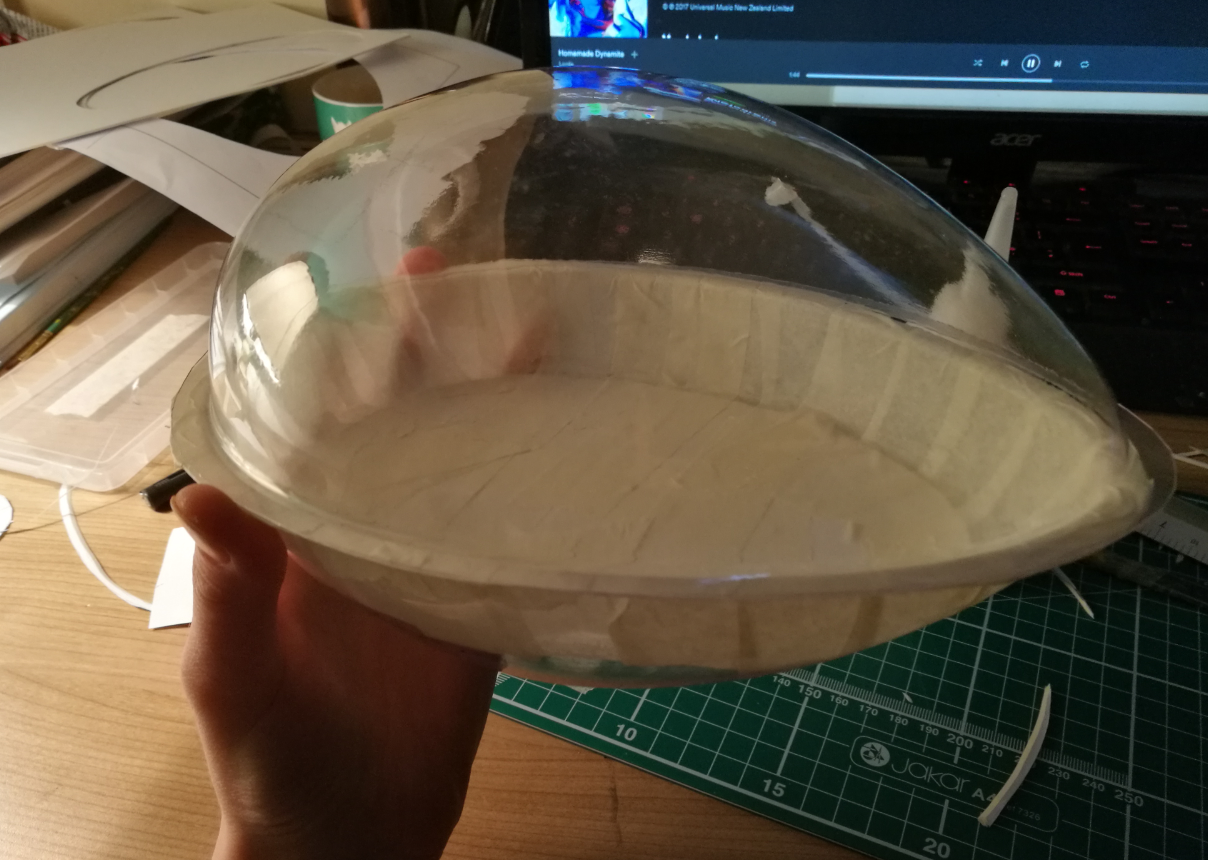
I bought an Easter egg mould which was as close to the measurements of my actual egg as I could find. I then used mountboard to construct all the elements that I wanted to feature in the actual model. I found during this process that the hardest part was matching the sofa/desk/kitchen cabinet edges with the curves of the egg. I later found a solution for this which I will show in later stages of the build. Unfortunately I only have one picture of this sketch model as the phone I took the pictures on broke.

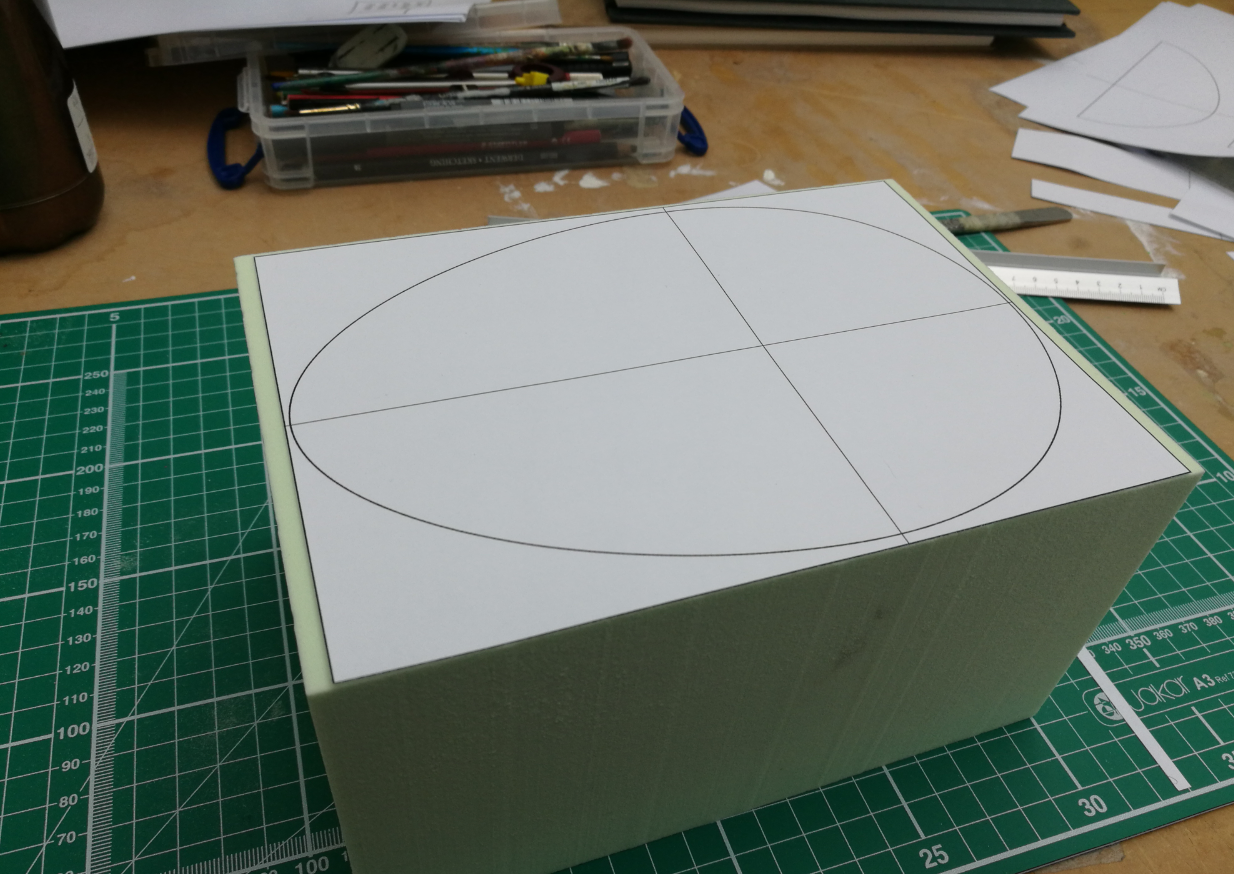
After the sketch model was completed I began making the egg buck for the vacuum forming machine. I drafted my egg shape in photoshop then stuck it onto a block of chemiwood. By sticking the front and side views of the egg onto the block I was able to cut both profiles very easily on the bandsaw.

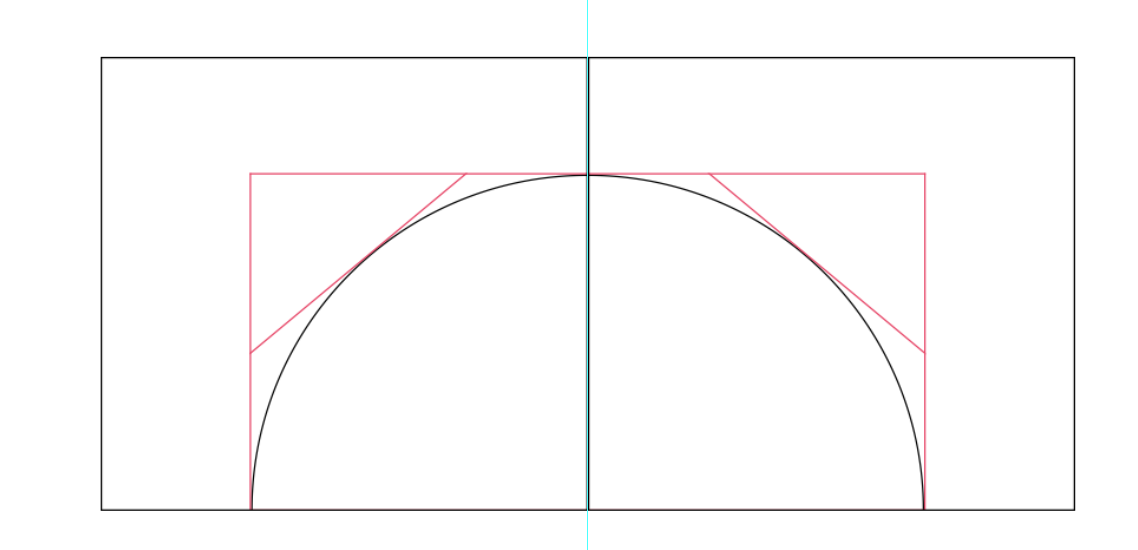
Once the general egg shape was cut it was time to refine the shape using files and sandpaper. I also drafted various egg templates in photoshop which helped me to shape the egg to the exact size I needed.
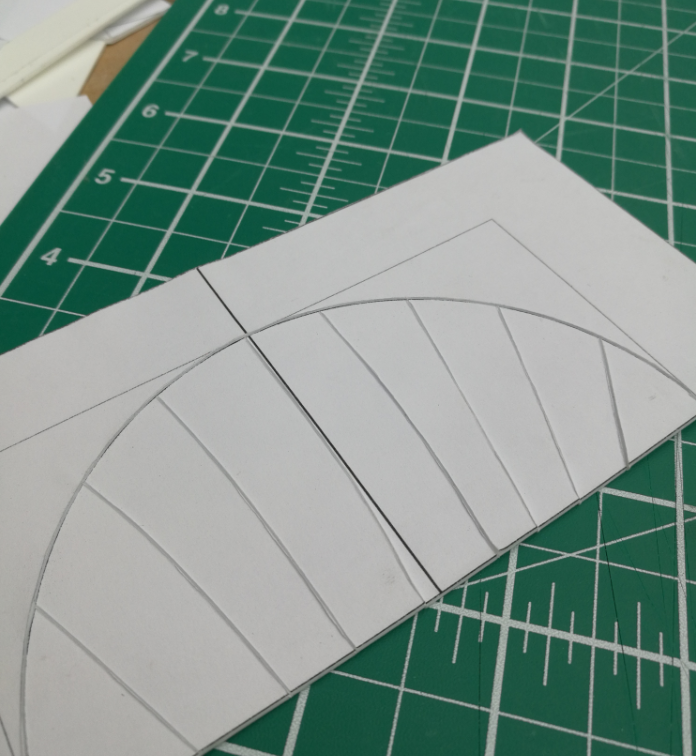
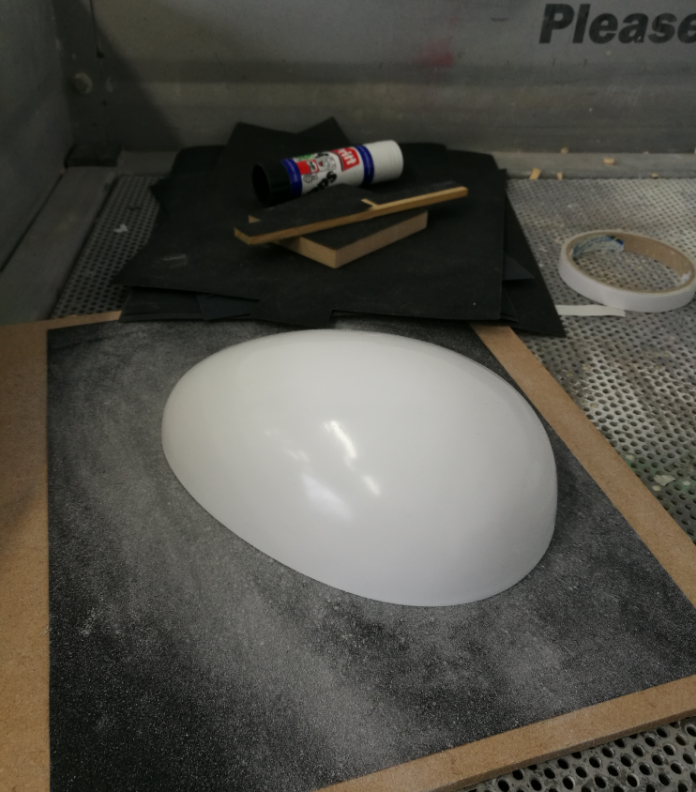
I cut out and glued an mdf base onto the chemiwood egg shape. The mdf served as a guide while sanding and also gave me a solid base from which I could vacuform the egg properly. The mdf also had a slightly angled edge which makes extracting the chemiwood buck from the vacuformed styrene much easier. The next stage was..... sanding, sanding and more..... Sanding!

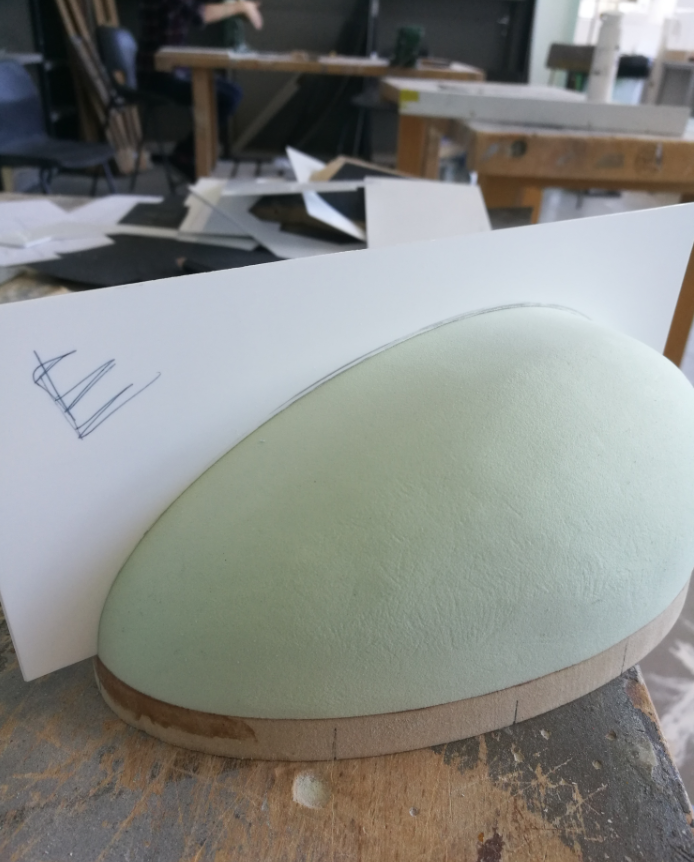
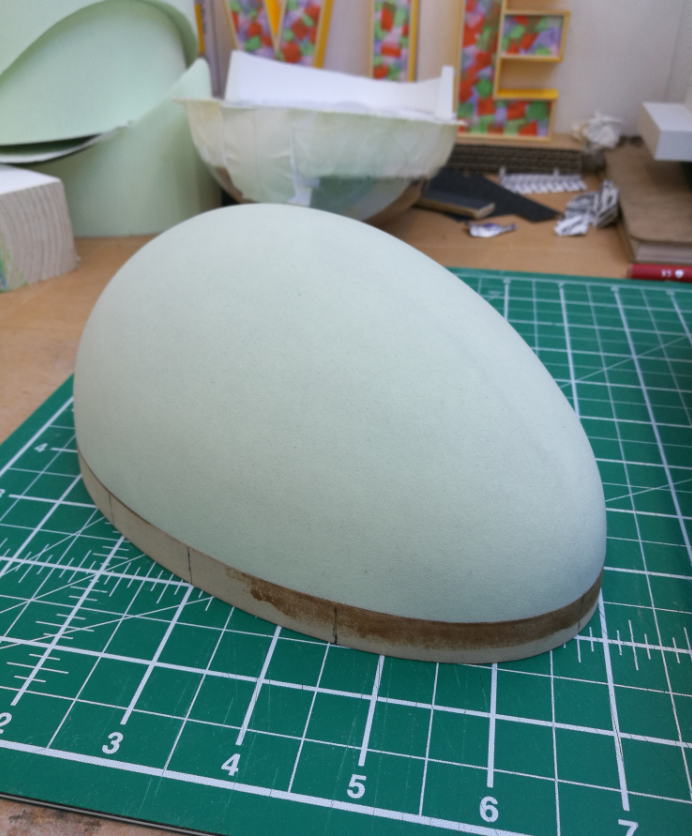
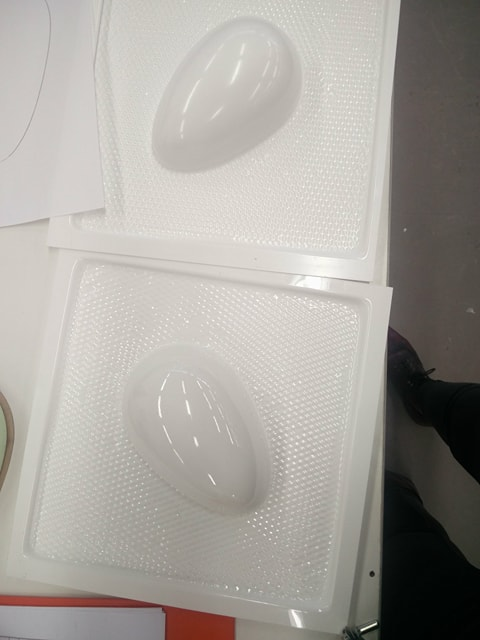
I then vacumformed the egg shape from 2mm styrene. After the induction on the machine I had a bit of trouble getting the styrene to form over my buck. I found that air was escaping from a small gap in the mesh o f the machine which was stopping the suction from working properly. After this had been fixed I was able to get two perfect styrene egg halves.
After vacuum forming I cut the excess styrene off the egg shape. The join between the mdf and chemiwood had left a slight impression all the way around the styrene egg. This line was very useful as it indicated where I would need to sand to.
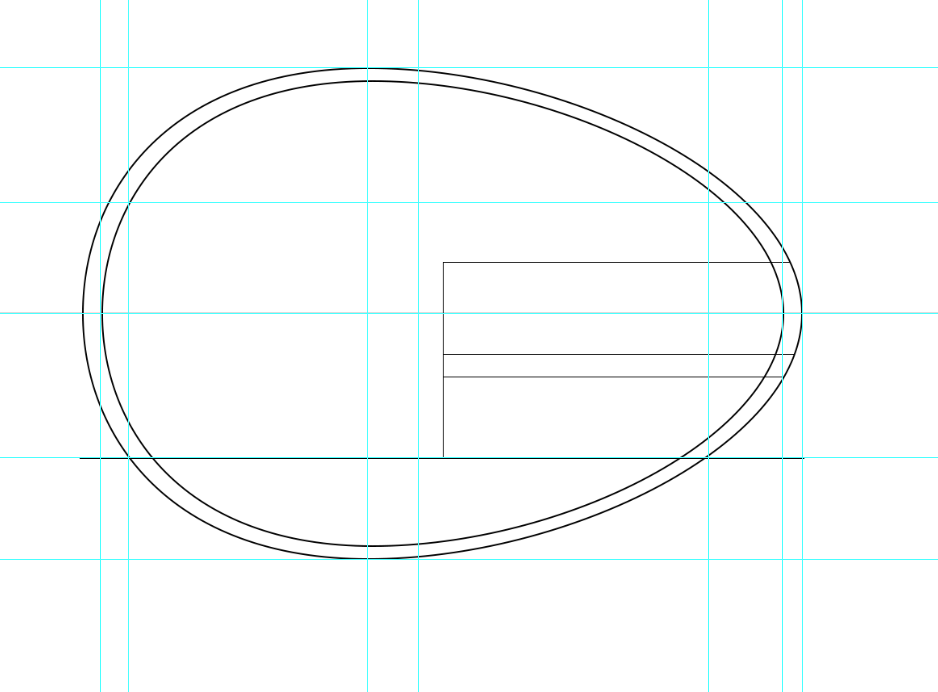
After I sanded the two egg halves so they fit together I then began to make the floor of my caravan. I began by figuring out where I would want the floor to go. The caravan is in 1:18 scale so I wanted to make sure all the dimensions (head height ect.) would work with the scale. I also mapped out the interior parts in side view to check how they would all fit.
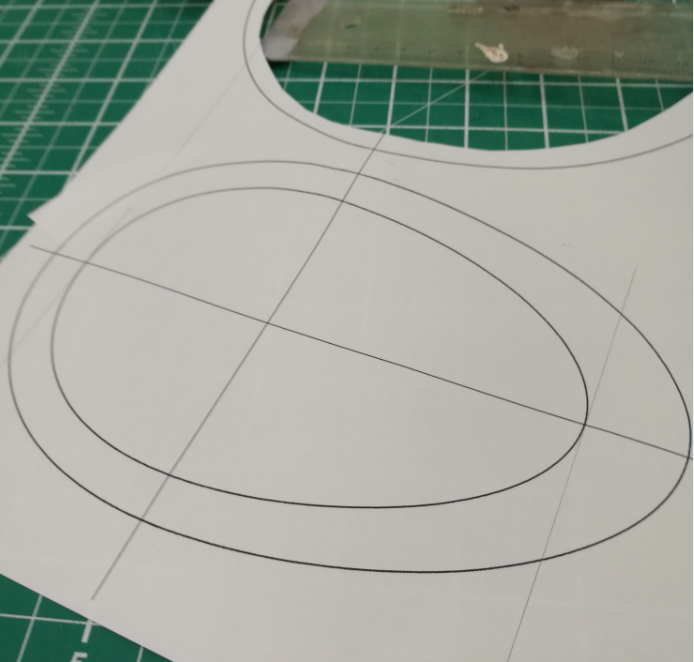
I printed out my floor template and stuck it to some 2mm styrene. I also made two “fins” that I stuck to the underside of the floor which would make it much studier and give me more gluing surface.


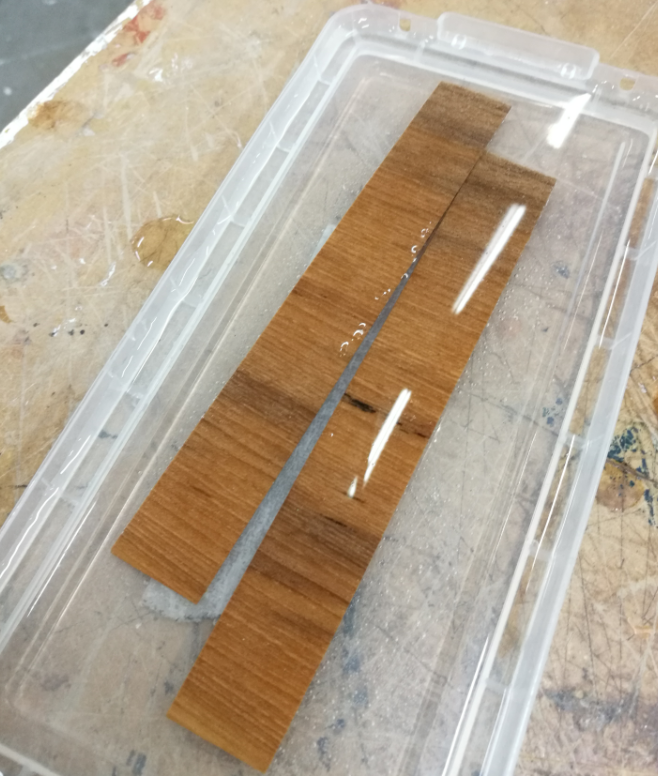
After the floor was glued in I began to make the sofa. I made the skeleton from styrene and used some templates to make the ends of the sofa match the contours of the egg shape. I knew that the top part would be covered with the cushion so I didn’t need to make that fit perfectly. After I’d made the styrene skeleton I covered the whole structure with 0.06mm teak veneer. For the curved section of the sofa I first soaked the veneer in water to make it more pliable. I then formed it around the shape, kept it in place with masking tape and left overnight. In the morning the veneer had dried out and retained the curved shape.

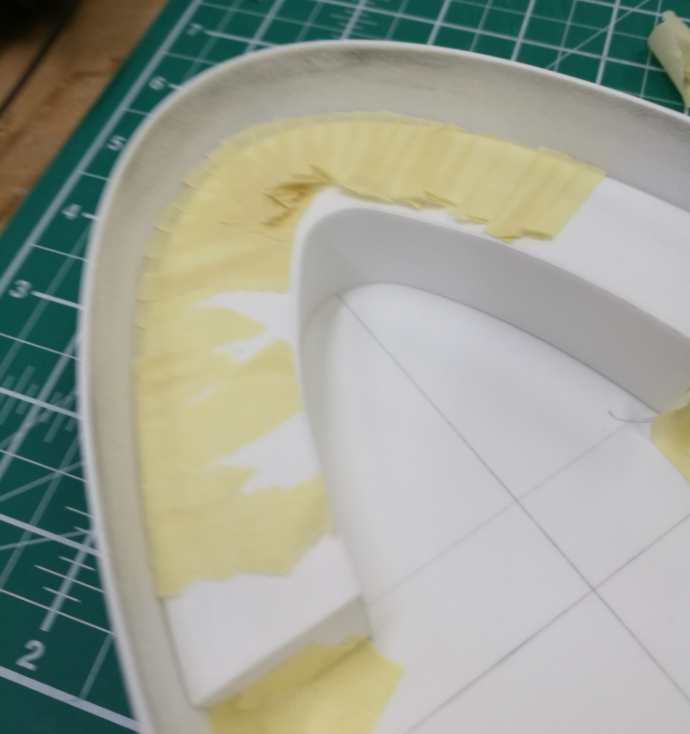
In the first picture I am using masking tape to determine what shape the cushion will need to be. I then cut the cushion shape out of 3mm Kapa-Line foam board and covered this with polyester batting (to add some squishy realism 😜)
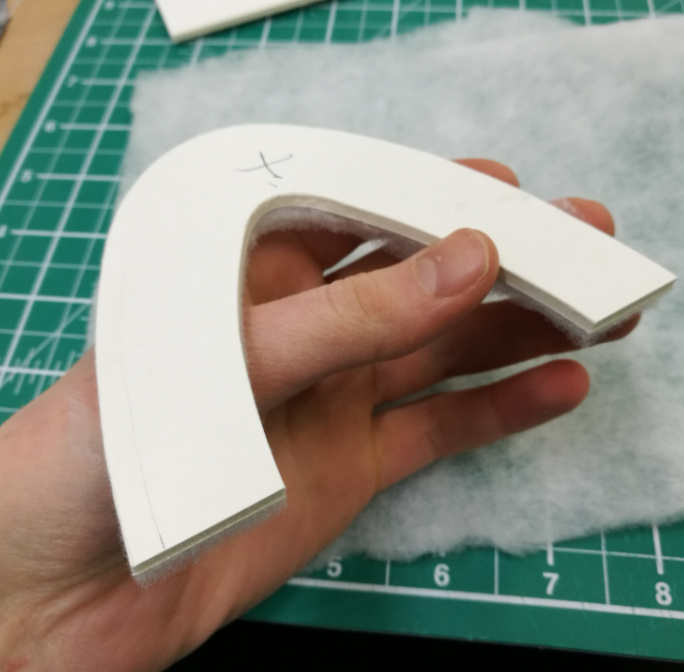
I then used some cheap cotton to make a fabric pattern for the cushion. In the end I had to make two of these cushions as the first one was too thick for the scale I was working in.

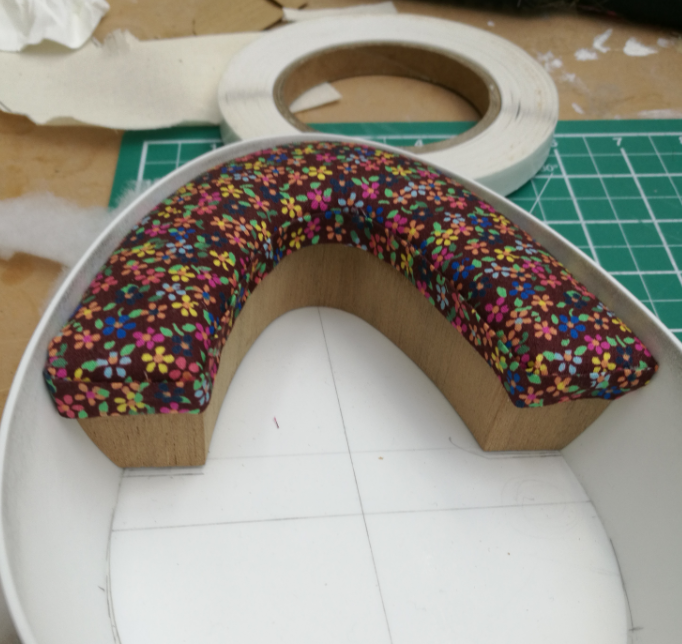
Now I began to make the back cushion. This proved to be a bit trickier than expected and I went through a few failed attempts before I reached a method that worked. The first method I tried was using a heat gun to bend a pvc tube into the shape I wanted. The result wasn’t particularly great however as the tube had buckled and warped in some places. I’ve seen a method of shaping pvc pipes which I would like to try - red hot sand is placed inside the tube (with one end blocked off). This heats the whole tube evenly and apparently makes shaping much easier. For the next method I used a hot glue stick and made a template to heat and shape it around. I then made a fabric tube and threaded it onto the glue stick. I covered some thumb tacks with fabric and stuck them into the ends of the glue stick cushion.
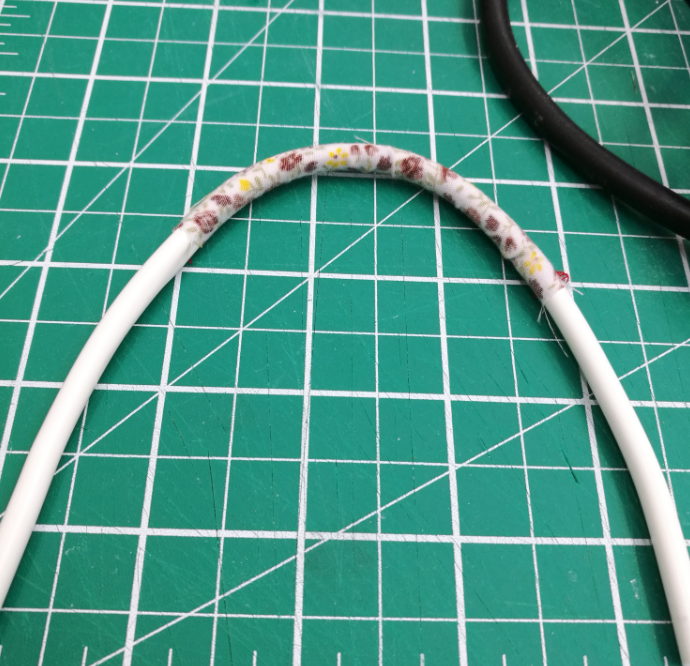
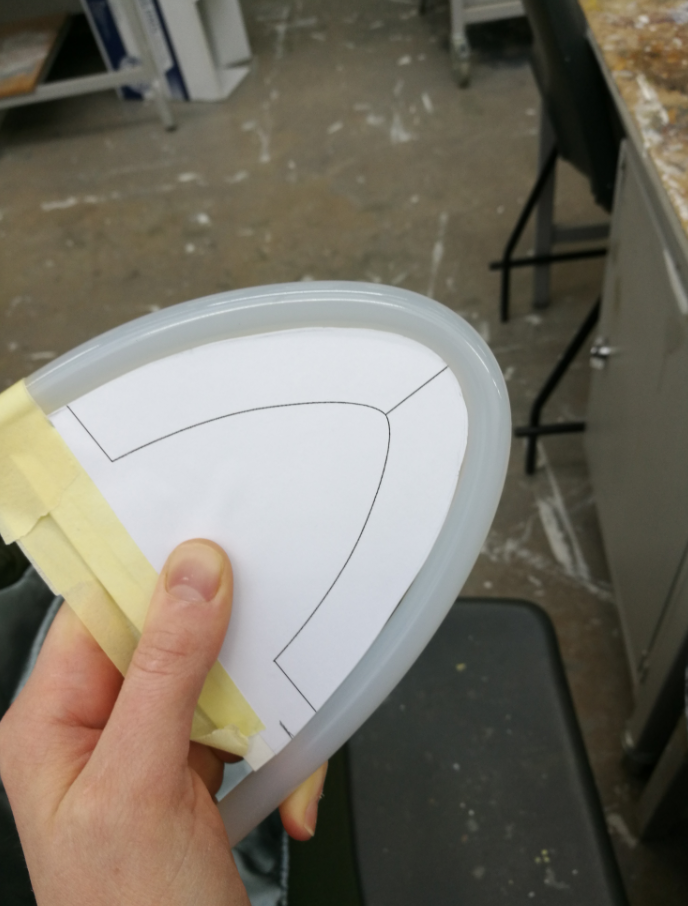


I was quite happy with this result and was going to use this for my final model. However in the end I decided it was too large and didn’t fit with the scale of the piece. So.... Onto method 3........
I began by making a template for the back cushion and then cut out 3 layers of Kapa-line foam board to this shape (with each layer getting smaller toward the top). I then sanded this shape down until smooth and sewed another fabric tube.

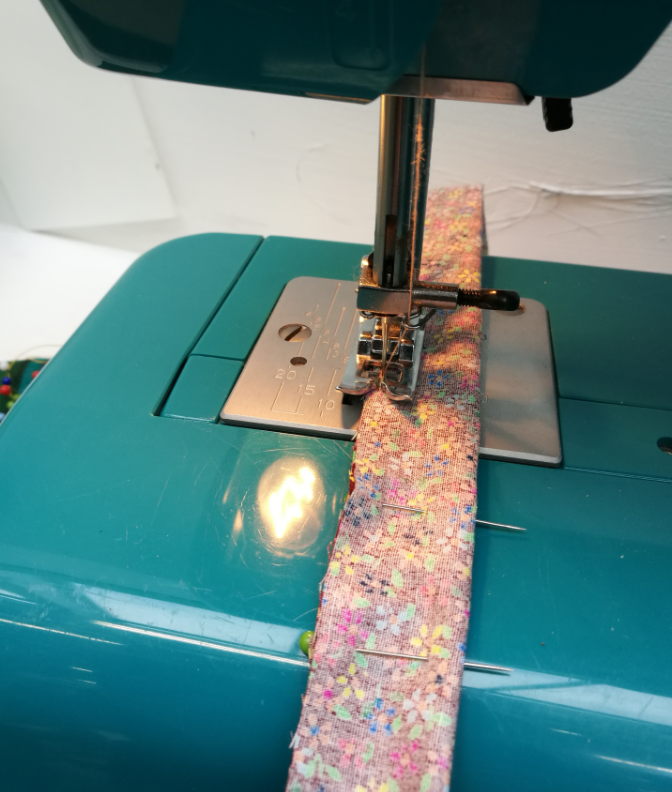
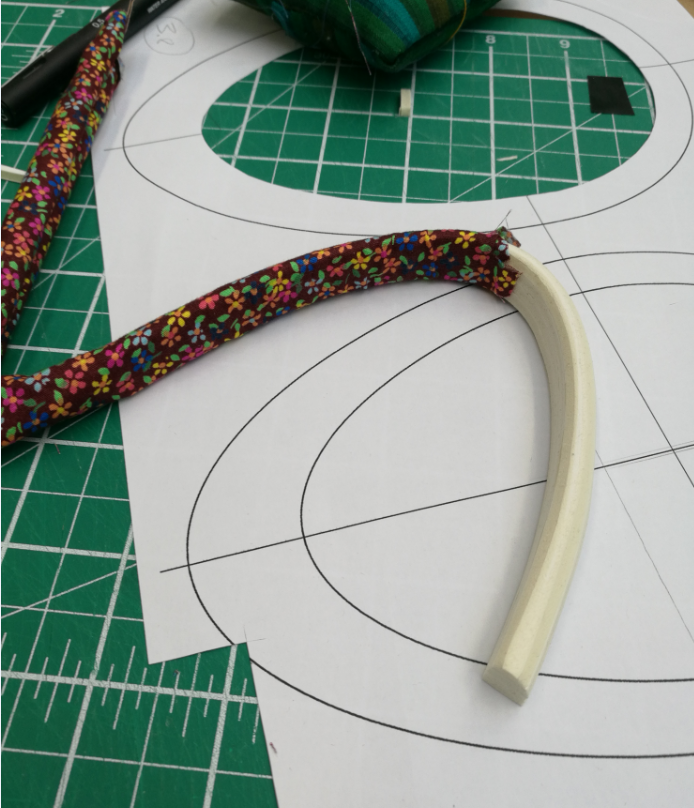
I was happy with this result so moved onto making the kitchen cabinet and desk.
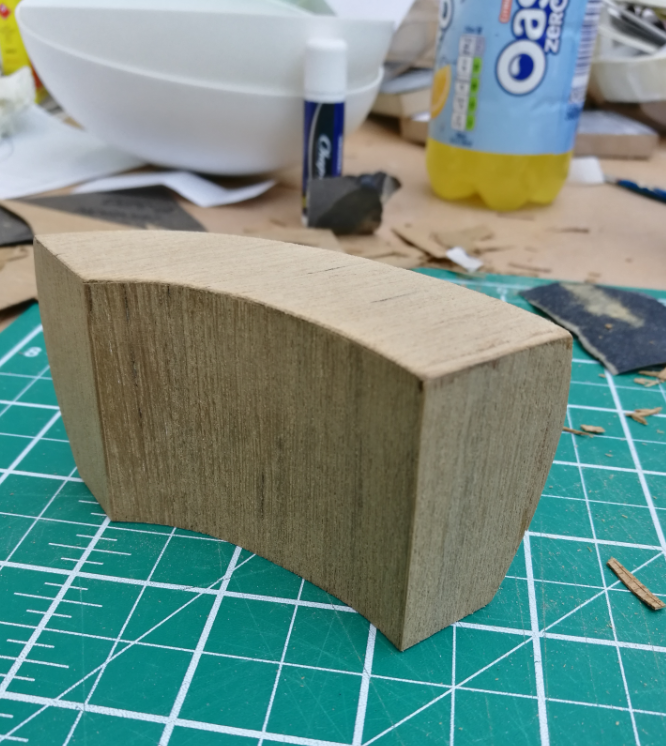
I started by using a template to make the table tops. I used my original egg shape and then made smaller versions of the shape inside the original one. The table tops needed to be flush with the sides, so using this method I could determine the height I wanted the units to be and then calculate the exact shape the top needed to be to follow the contour of the egg.

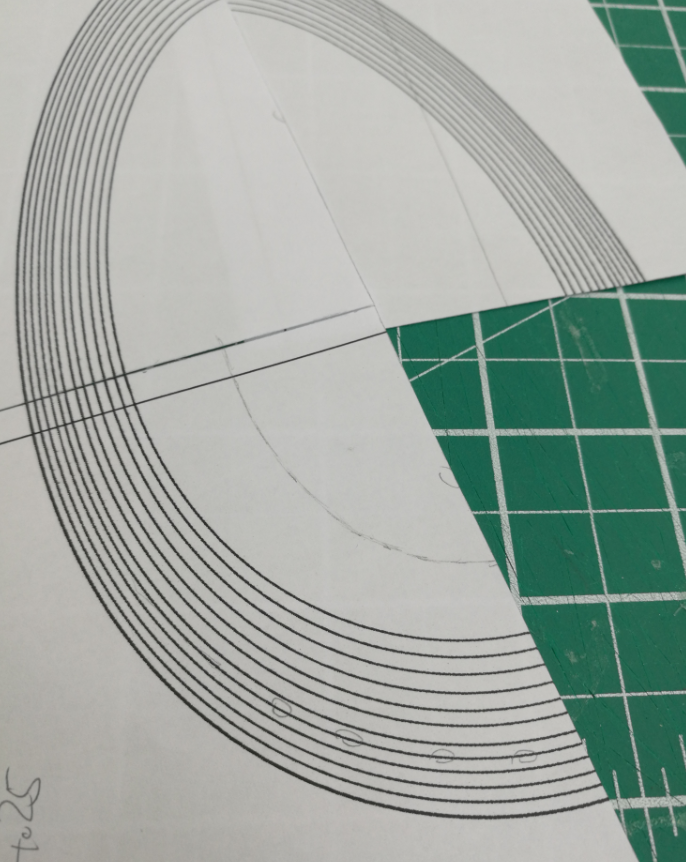
After constructing the table tops I then went onto construct the actual units in styrene. I then covered the styrene with the teak veneer.

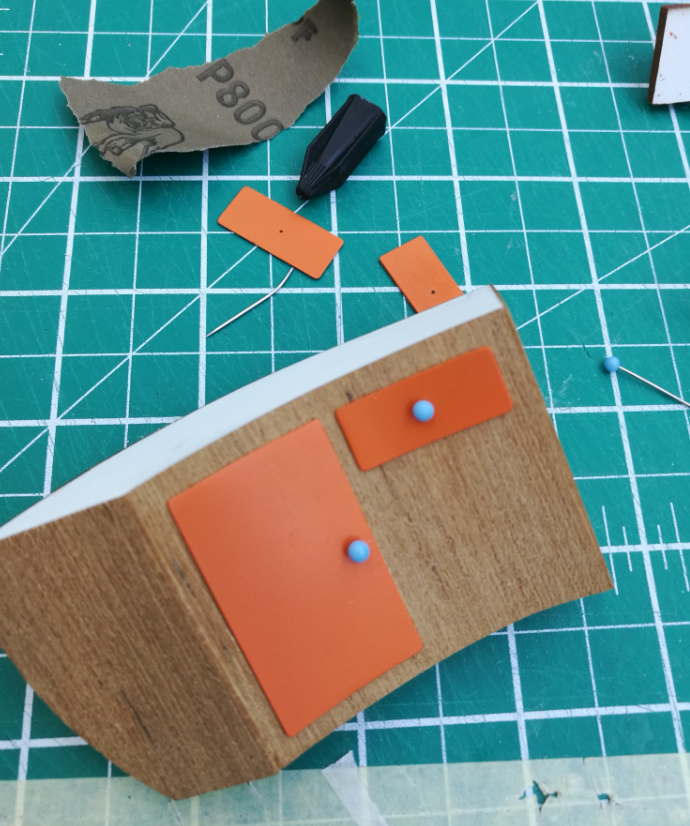
After the units had been constructed I added cupboard details with 0.5mm styrene and sewing pins.

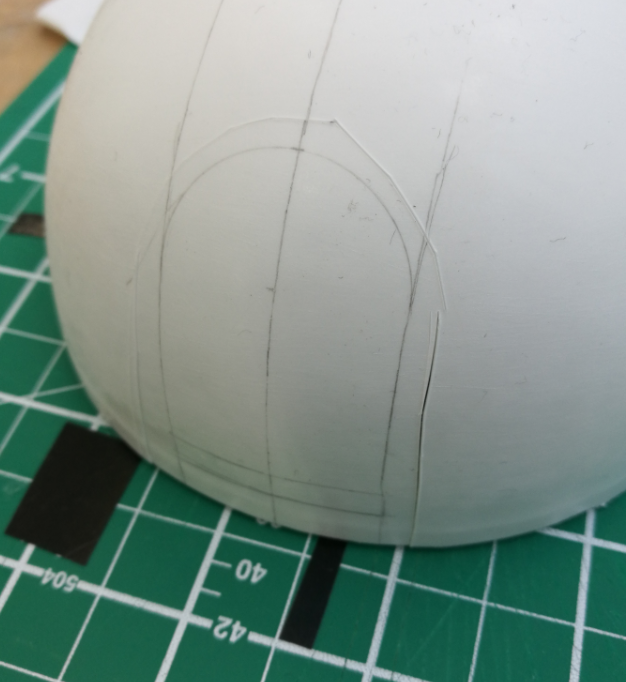
I then moved onto constructing the door for the caravan. I vacumfomred two more eggs, this time using 1mm styrene and then cut out the door shape from both halves.
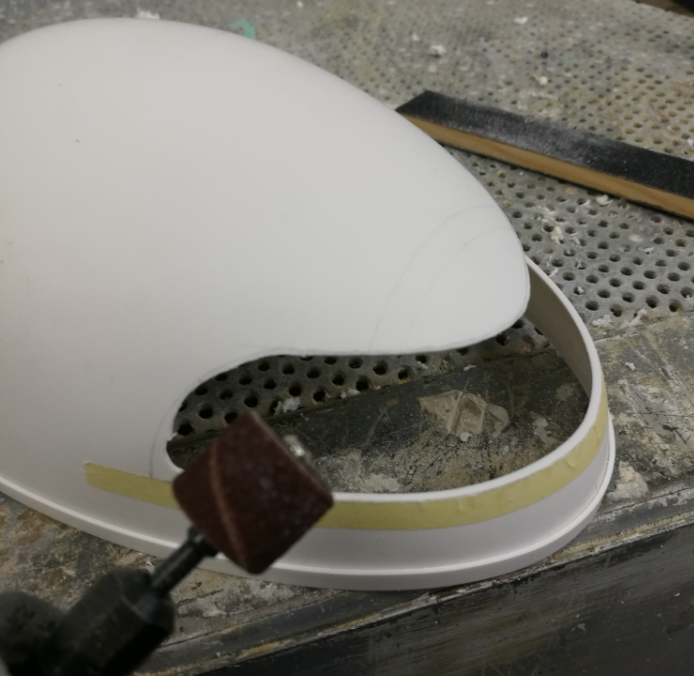
I then cut a hole in the top of the caravan for the window. I covered this hole with vinyl tape and then following the edge of the hole with a scalpel blade I cut away the tape. This gave me the exact shape I would need for the window piece. I Vacumformed a piece of clear PETG and then used the template to cut out my window. I glued a strip of styrene all the way around the top half of my egg so the two halves would snap together.

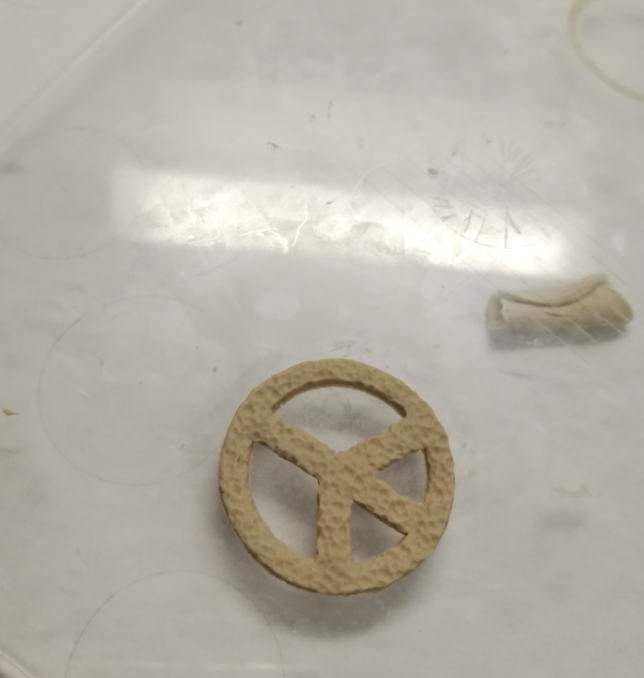
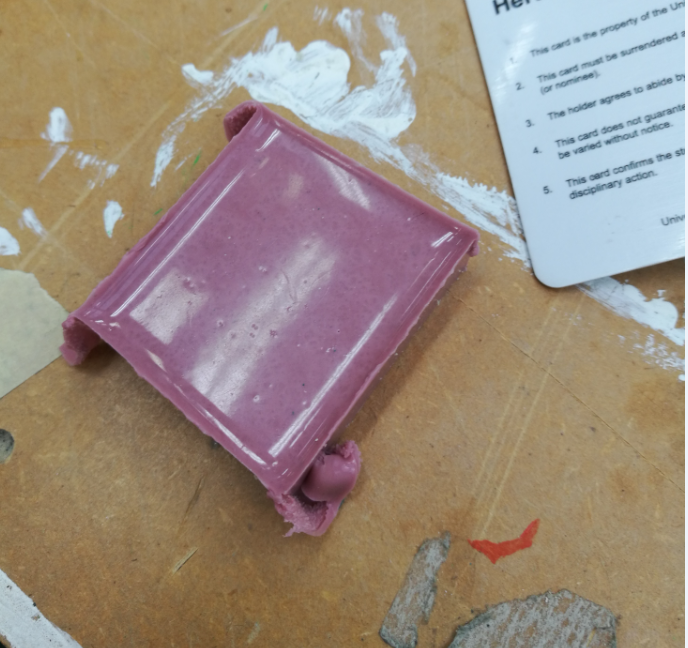
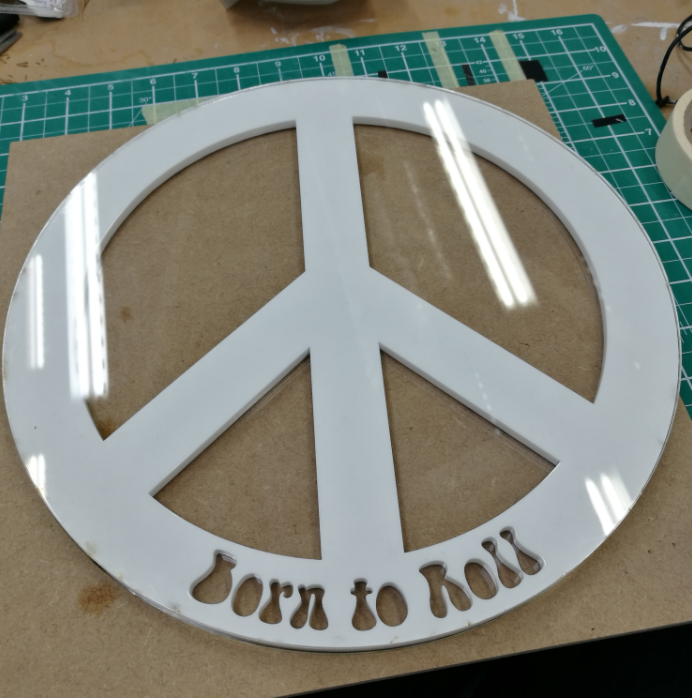
After this was constructed I then went onto sculpting a peace symbol which would be stuck onto the front of the caravan. I moulded this in silicone and then cast in polyurethane resin. Before the resin had hardened fully I took it out of the mould and formed it over the contours of the egg.

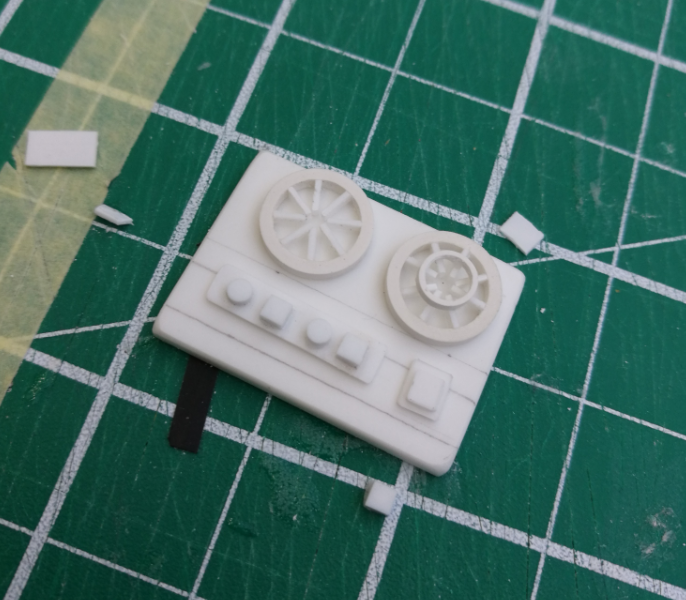
I then began to make the little appliances that would go inside the caravan. To make a hob I used a pvc pipe and various thickness of styrene. I also constructed a record player in a similar fashion.
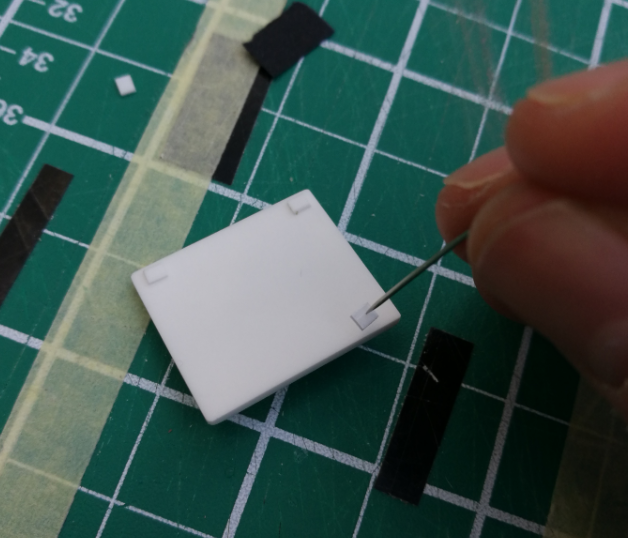

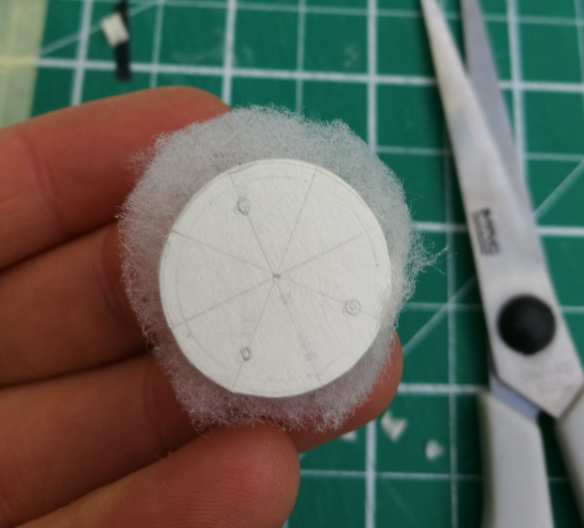
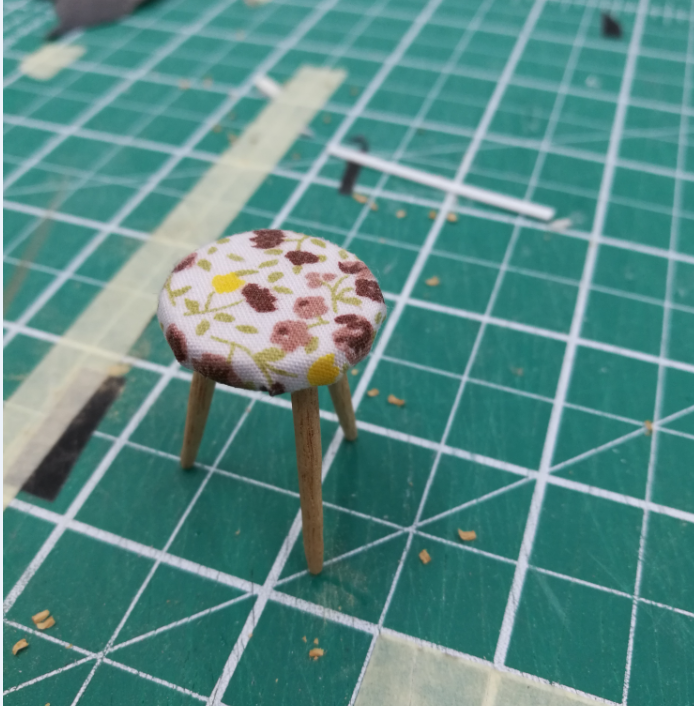
I also made a mini stool using Kapa-line foam board, polyester batting and some wooden dowel.
Then it was time to prime all the pieces. I attached the smaller pieces to thumbtacks with bluetack and then stuck them into foam board to hold them in place.
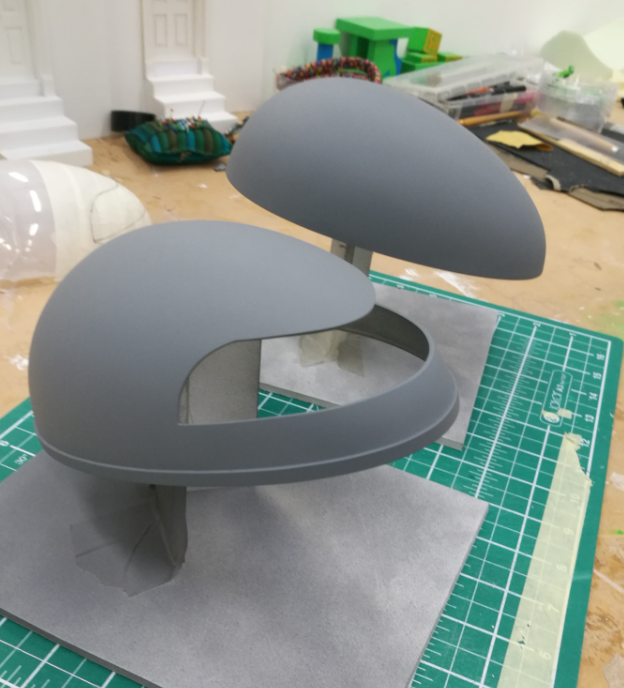
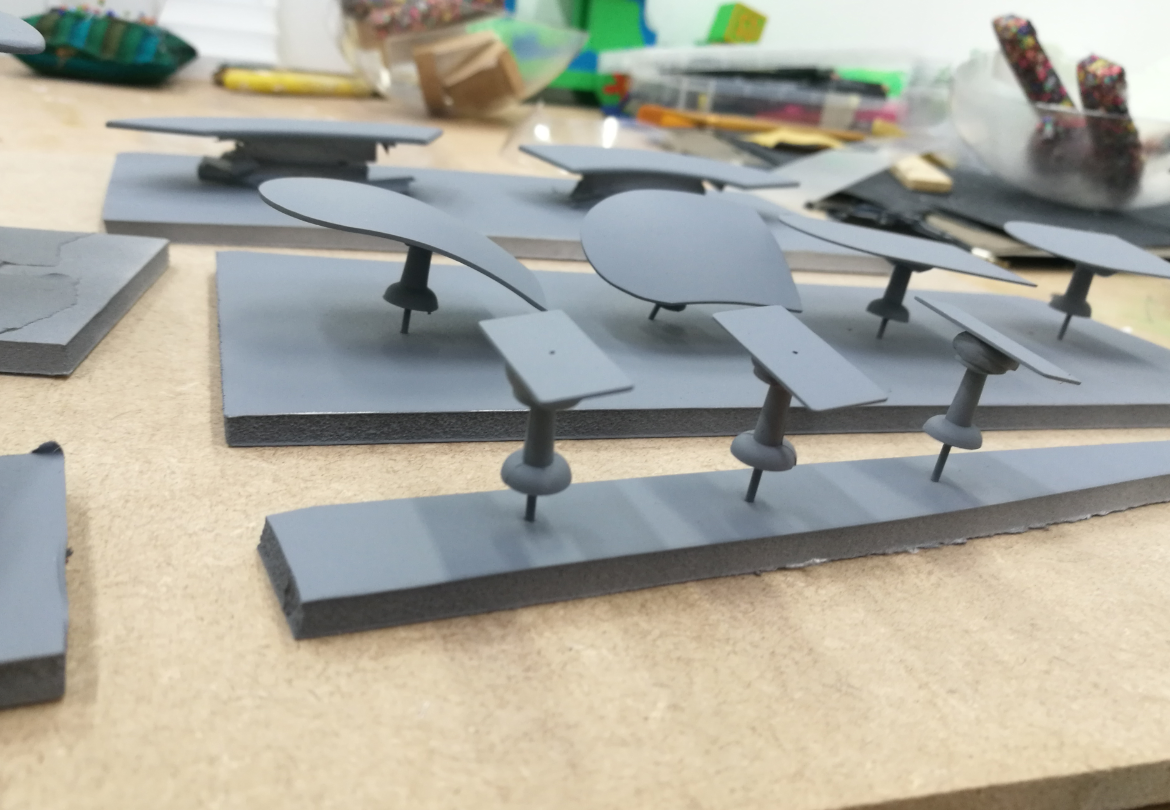
I then painted all the pieces with various different colors of spray paint (masking areas where appropriate). In hindsight I should have waited until I had attached the wheelbase and tow bar, but I got a little restless and wanted to see the whole thing painted.
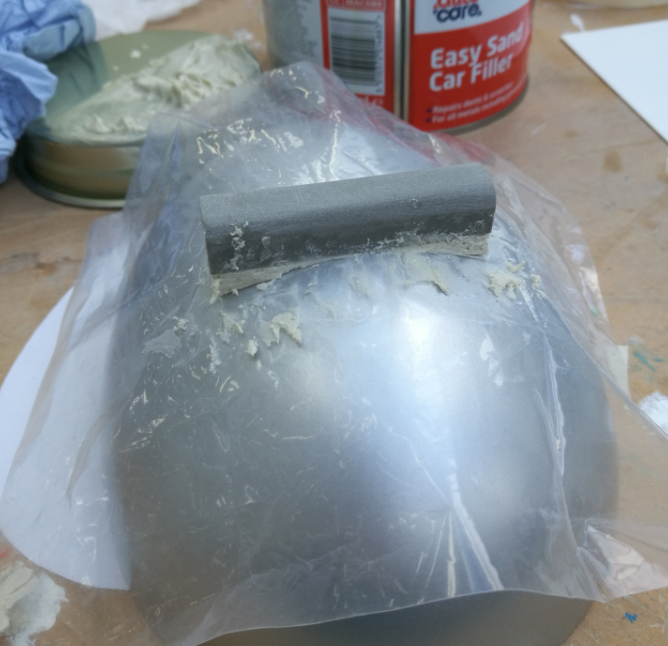
To make the wheelbase I first shaped a piece of chemiwood and then drilled a hole straight through the piece so I could insert the wooden rod I’d be using as an axel. After I’d created this I covered the bottom of the caravan with cling film. I then mixed up some body filler and applied it to the chemiwood shape. I pressed this onto the egg and left to dry. I now had a solid piece which was shaped perfectly to the bottom of the egg. My original intention had been to glue the piece on with epoxy however the filler had melted the cling film and cemented itself to the bottom of the egg. Fortunately this wasn’t such a problem as it just avoided this step. I tried prying the piece off, but it just wouldn't budge so I wasn’t worried about it falling off without any glue. I added a few strips of styrene to clean up the join between the egg and the filler. I threaded the wooden rod through the piece and attached the wheels.
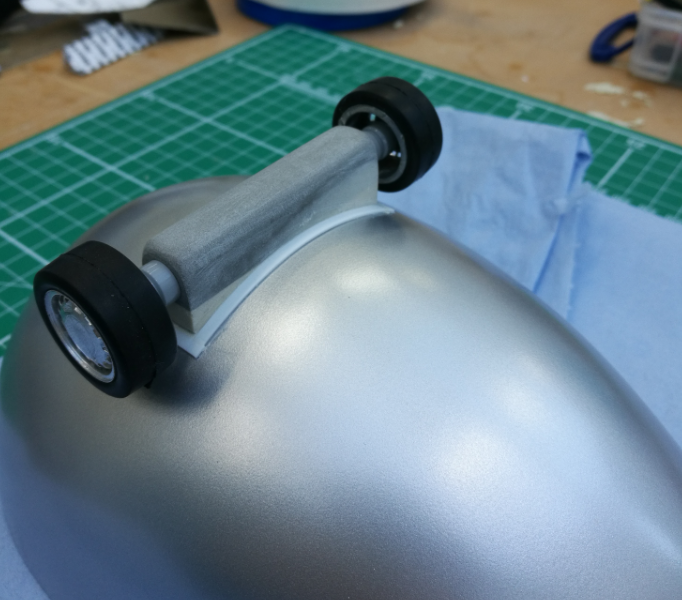
I then made a tow bar from styrene, a wooden dowel and some found pieces of plastic to add extra detail. I also used the same filler method as described above to make the tow bar fit the contour of the egg shape.


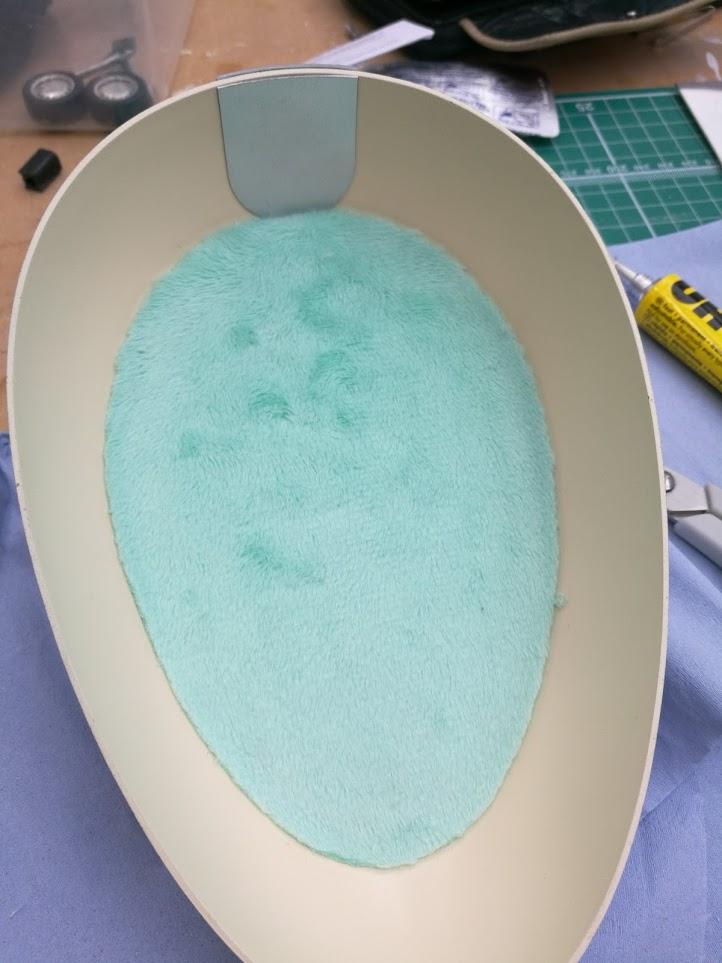
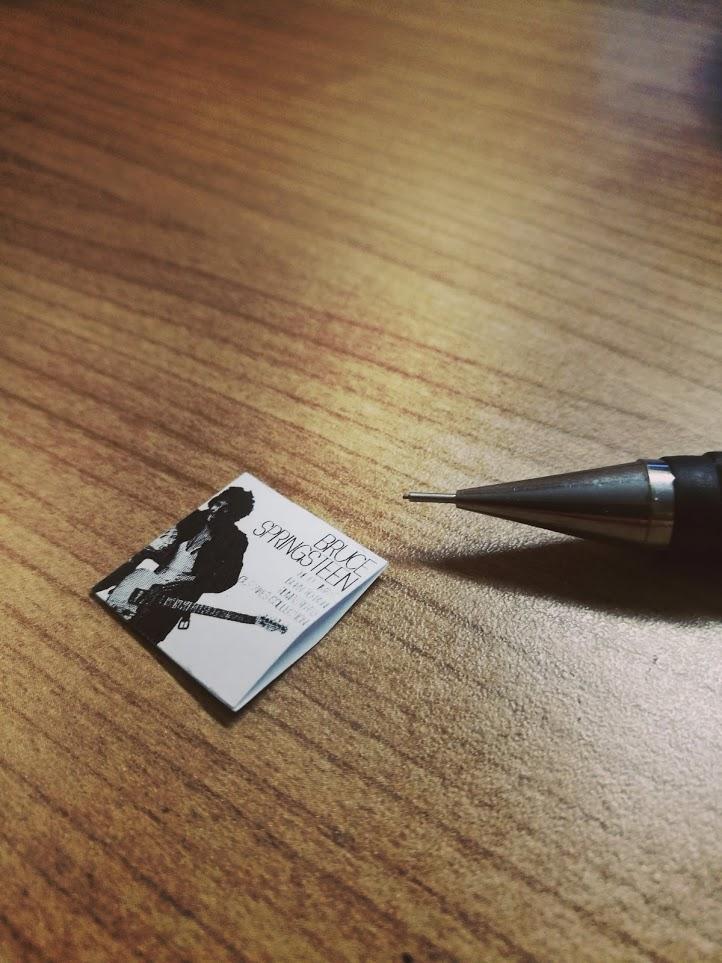
It was then time to start gluing in all the interior parts. I began with the carpet using UHU then stuck in the cabinets and smaller parts with superglue. I then made some little record sleeves using photoshop.
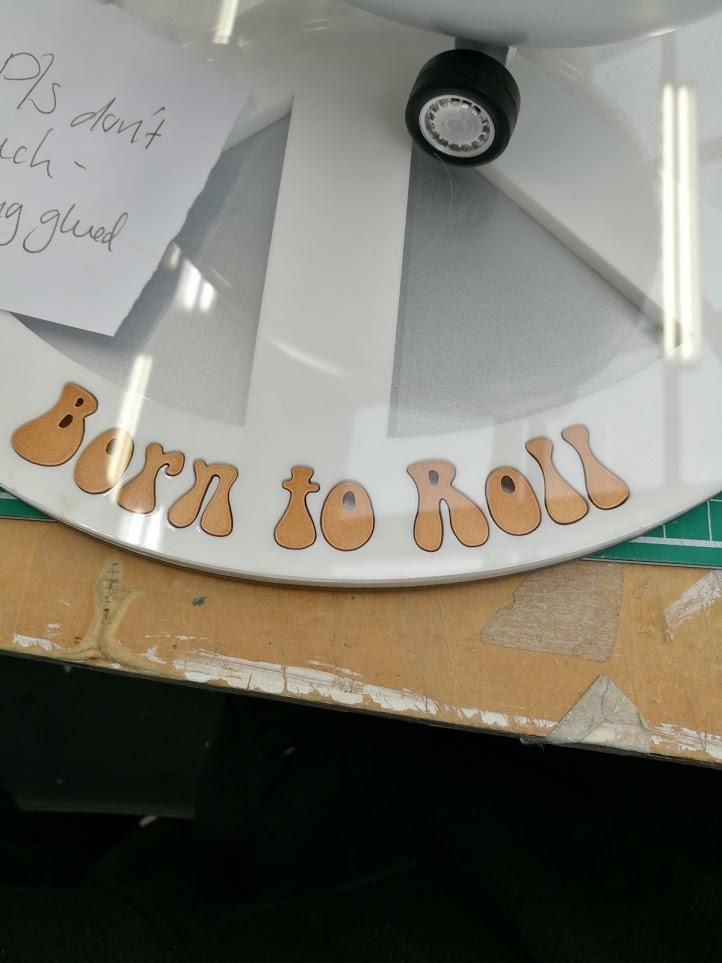
I then painted my stand, continuing the copper/silver color scheme onto the letters and back plate.
I also bought some plates and cutlery.. If I’d had time I would have made them myself. The ones I bought weren’t the best quality so I couldn’t decide If I wanted to use them. However after talking with Helen I decided that it was better with than without.
I then glued the peace sign on the top of the caravan and then.... It was done!
So that's it for this one guys! I'll be back soon with another write up. Until then, keep making stuff and keep on keeping on!

So that's it for this one guys! I'll be back soon with another write up. Until then, keep making stuff and keep on keeping on!


