So I recently watched Dr. Strangelove or: How I Learned to Stop Worrying and Love the Bomb and boy did it live up to my expectations! The Major Kong Survival Kit scene particularly stuck in my mind - especially the survival kit prop! I usually like my props to have some functionality (not just a display piece) so I decided to make a survival kit camera case! Check out the scene here: https://www.youtube.com/watch?v=vPwW7RaPO_g
I had put the camera on a bookshelf to take this last photo with a 10 second timer. This was a terrible idea and it nearly crashed to the floor! This is me rushing to catch it before it fell to it's doom. Fortunately both the camera and my heart made it though.
Onto the build process!
I started out by using my camera/batteries/charger to gauge how big I needed to make the case. Once I had the length/width/depth figured out I used my jigsaw to cut out all the pieces. I used some 4mm hardboard which I had salvaged from an old picture frame for most of the pieces.
Here are all the pieces laid out. The brown stuff is the hardboard then the white stuff is some thicker hardboard I had laying around.
I knew I would be covering all the pieces in fabric and I didn't want the sharp edges cutting into it so I just rounded them all off with sandpaper.
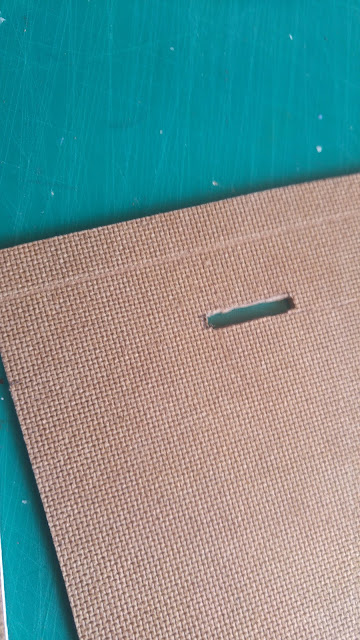
I cut some holes using a drill and my jigsaw for the webbing straps to go though later on.
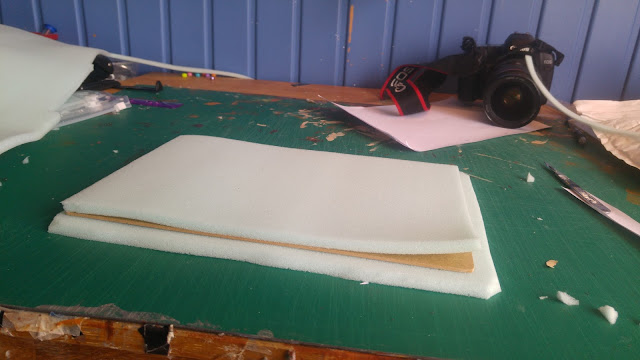
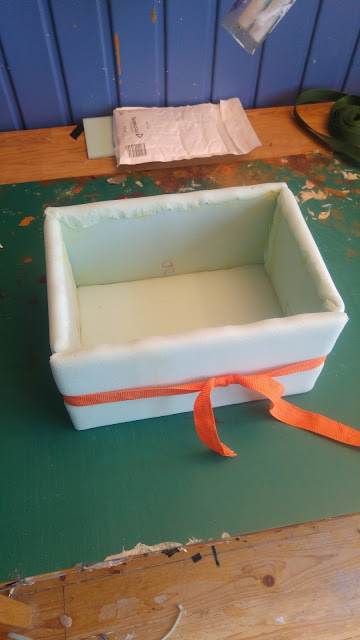
I wanted the whole case (Not just the inside) to be really spongy so I sandwiched the hardboard inbetween some 5mm upholstery foam. I made the bottom piece of foam larger than the hardboard and also bevel cut all the edges. This will allow me to bend the foam over the edges of the hardboard. The beveled cut will help to blend the seam between the two pieces.
Here all all the pieces covered in foam. I used some webbing to temporarily hold all the pieces together so I could make sure they all fit.
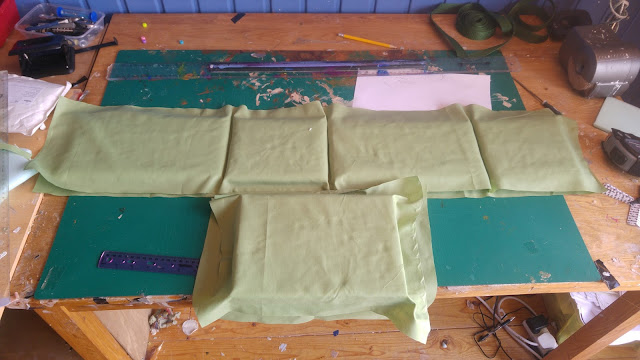
Here are the side pieces and bottom piece covered in fabric and ready to be sewed.
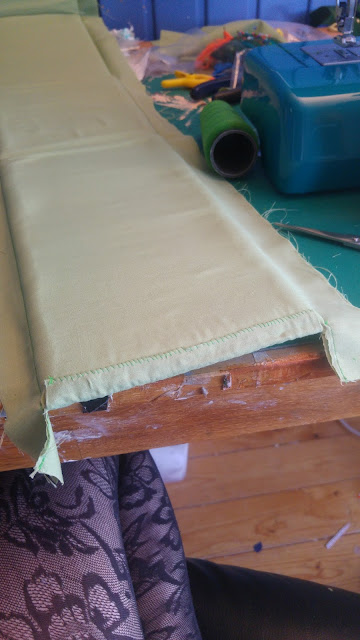
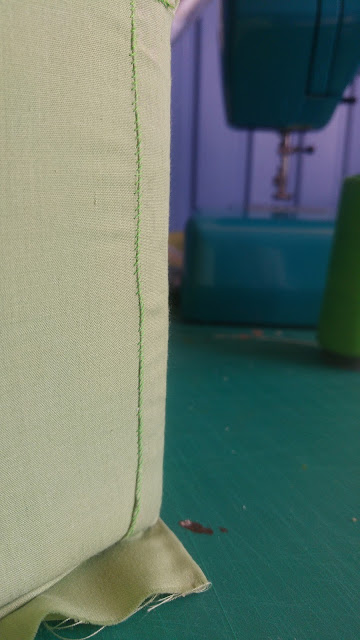
I started with the bottom piece. I needed the seams to be on the outside as I'll be using them to attach the bottom piece to the side panels. I also need the seam to be at the bottom (rather than at the middle which is where it would naturally fall) otherwise the side panels would attach to the middle of the bottom piece rather than at the bottom of the bottom piece (Is this making any sense!?)
I had to use a combination of hand sewing and machine sewing to get the results I needed. Hopefully you can see what I was trying to explain. The corners were sewn together and then the excess fabric was cut off. The seam will also be trimmed down to the size I need.
Getting the piece inside the fabric was quite tricky as the foam doesn't slide along the fabric very well (at all). To remedy this I cut open a plastic zip lock bag so that it was just one strip of plastic. I wrapped the piece inside this strip and then inserted the piece into the fabric. Once the piece was inside the fabric I pulled out the plastic strip.
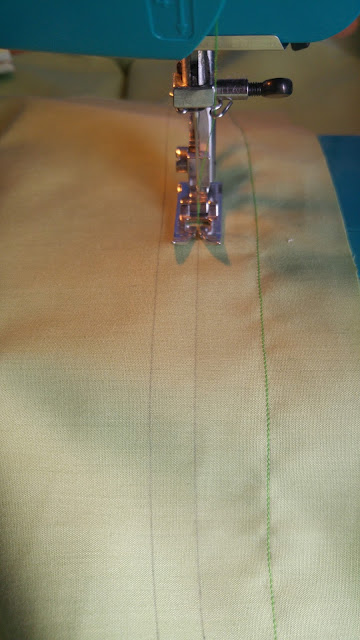
For the side panel fabric I also needed the seam line to be on the outside. I used my sewing machine to sew a channel for the panel pieces to slide thorough (making sure that the fabric would be tight across the panels). I used the same method for getting all the side panels inside the fabric as above
.

Sewing up the opening..
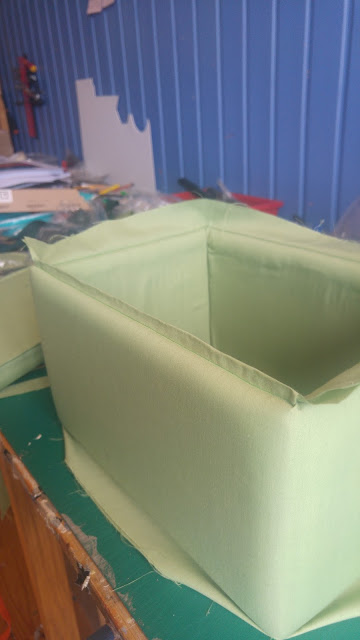
Joining the panels together to create a box..
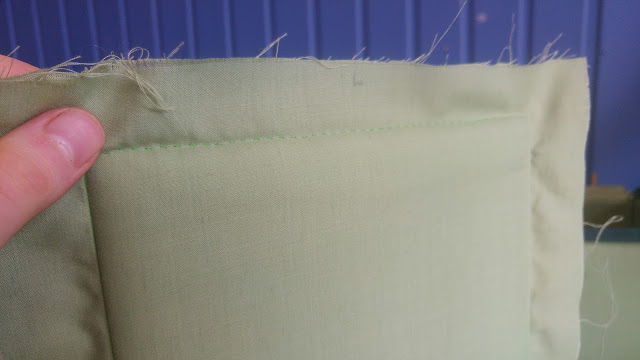
Trimming the seams down and folding them over..
Sewing the bottom piece and side panels together.

For the lid of the case I machine sewed three sides of the fabric, inserted the panel then hand sewed the open end shut. I also needed the seams on the lid to be on the outside as I would use them to sew in the zip.
Here I am sewing the zip to the seam of the lid. The zip was also sewed in to the top seam of the side panels
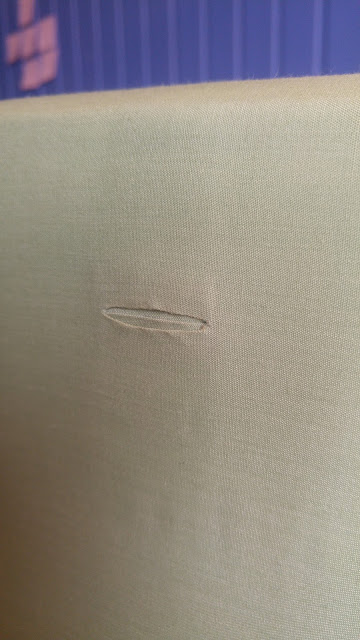
Remember that hole I made for the straps to go though at the beginning? I cut through the fabric to expose the holes then folded and glued the fabric over to stop it fraying. I then added two pieces of fabric underneath to make the hole look much nicer.
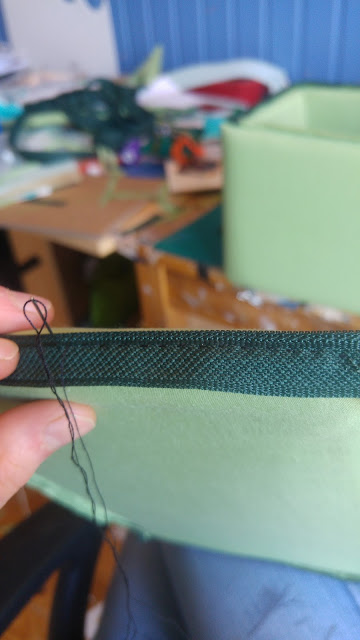
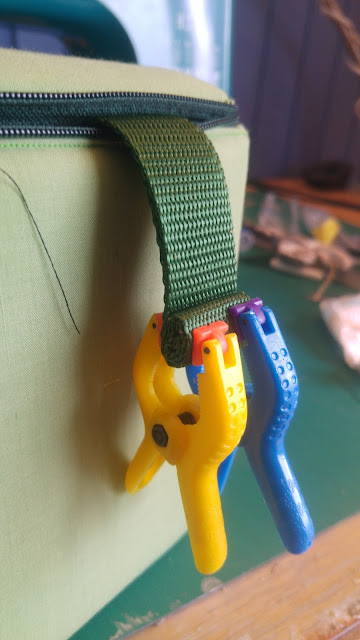
I threaded the webbing though ( making sure to assemble the adjustable buckle mechanism on the webbing before threading it through) I covered the last 5cm of webbing with copydex then rolled it up to stop it pulling back though the holes.
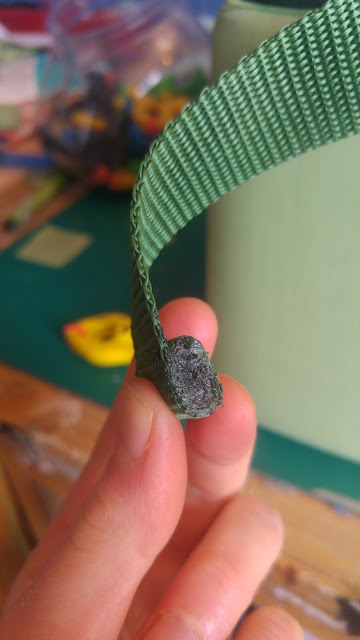
I also melted and merged the nylon together to make sure it would't come undone.
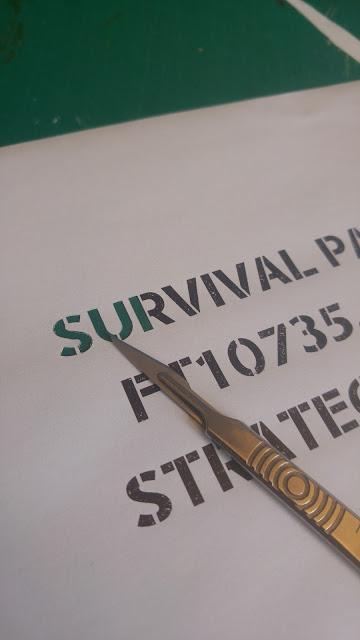
Stencil Time! I Created the text in Photoshop then printed it out to the correct size. I then spent a good couple of hours cutting out all the letters. Podcasts are your best friends in this situation. I'd recommend: Making It - a podcast by Youtubers Jimmy Diresta, Bob Clagett and David Picciuto. They talk about how they go about making things, how it affects their lives and almost everything in between!
Here is the stenciled lettering painted onto the lid! I used acrylic mixed with latex - this will make the paint more flexible and prevent it from cracking off.
Thank you very much for reading! :)


