So this was my first second year project! We had two weeks to create a tool out of wood, mould and cast this piece and then turn it into an animal. I chose to make a tape measure which I then turned into a snail, check it out!


I wanted mine to look a little more organic so I went into Fusion 360 and designed my own. See my design here:
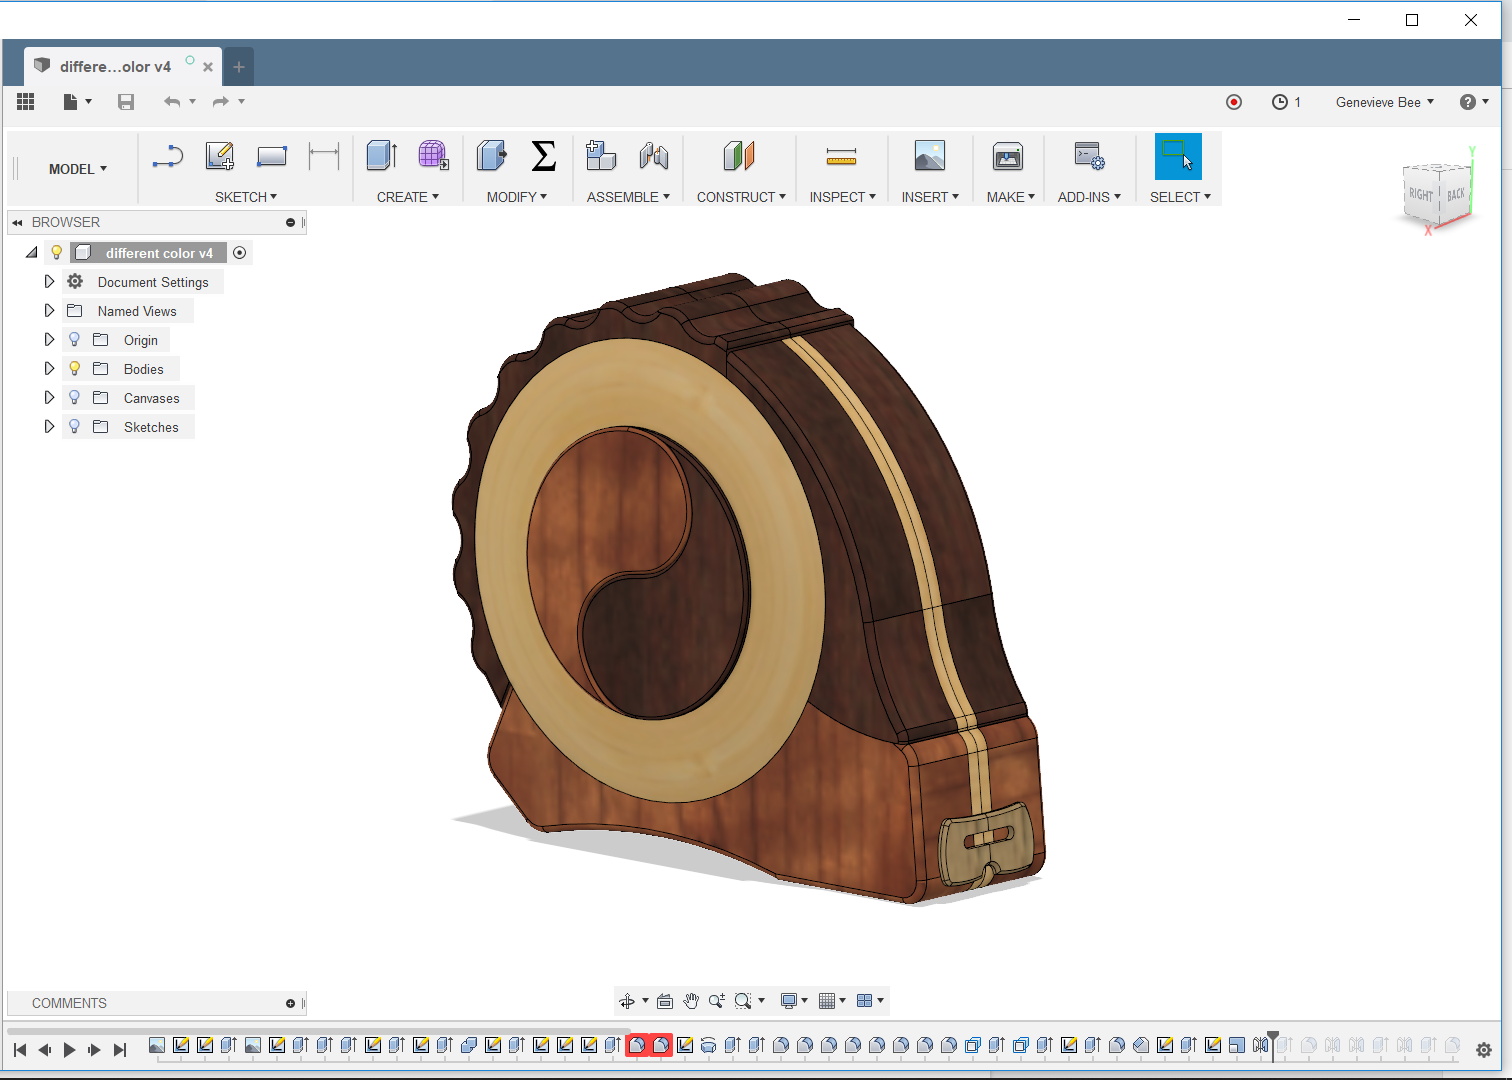
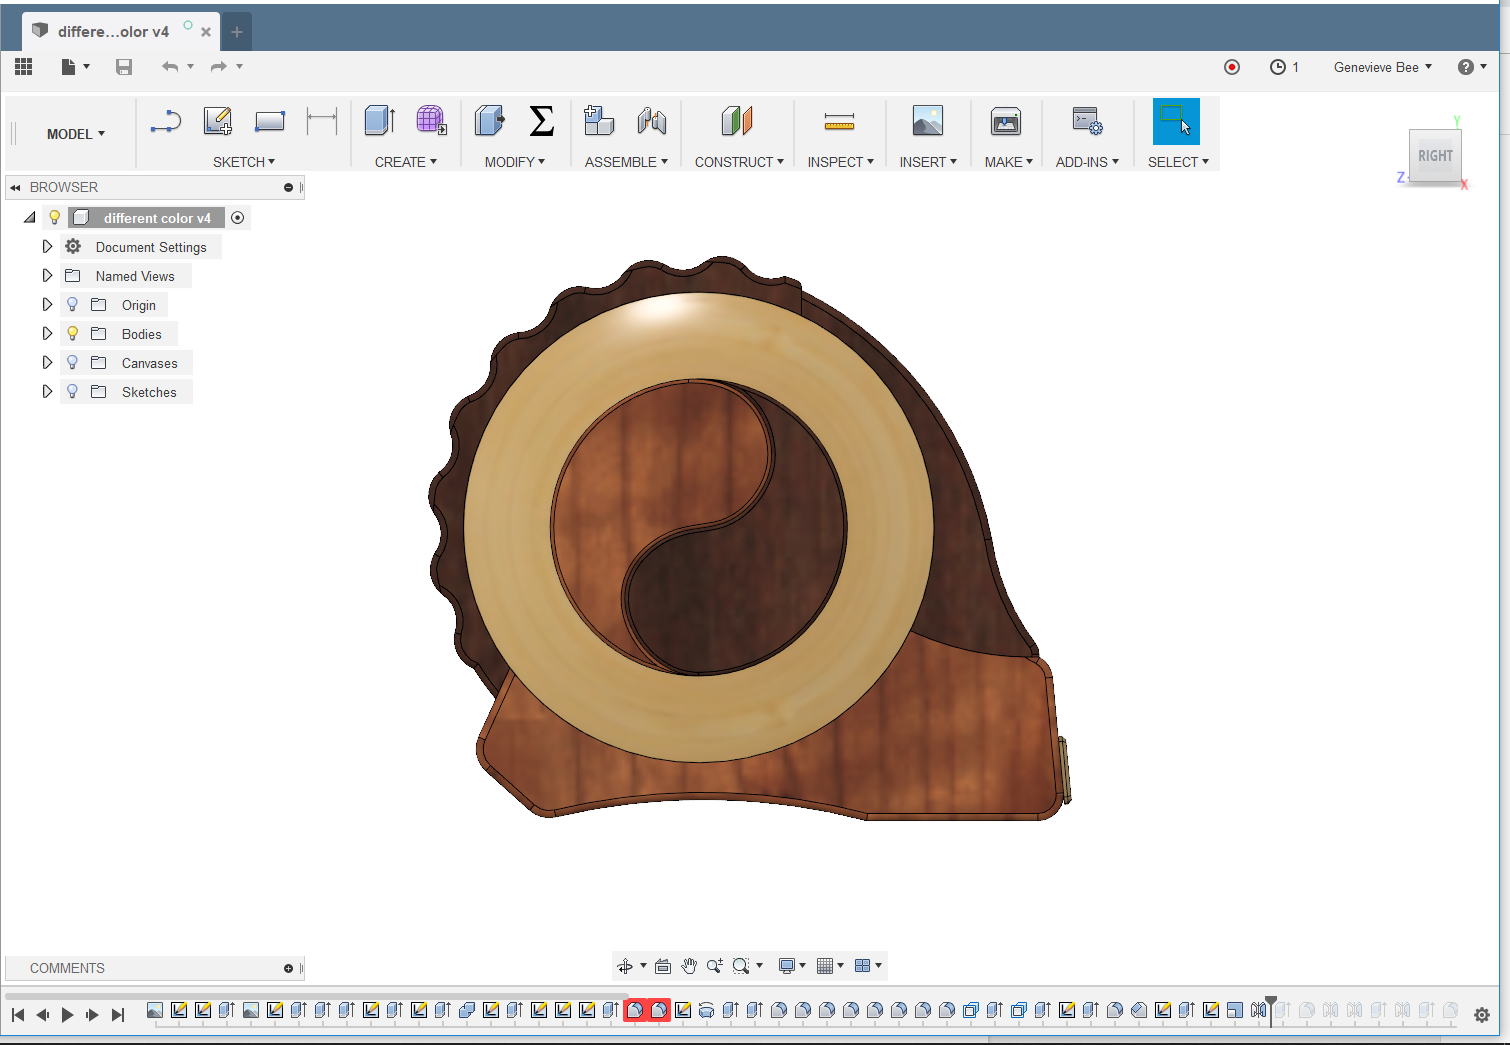
I used the fusion design to make plans for each piece and then began by cutting out the center shapes, one in walnut and the other in another hard wood. I'm not exactly sure what wood I used for some parts of this project as we were given a lot of off-cuts from the university which were quite hard to identify.

Once I had sanded the two center pieces so they'd fit together I began cutting out the outside circle.

I then combined the two pieces and sanded it all again to get them perfectly flush on either side. I used hardly any glue to fix them together as it was mostly a friction fit.

I then started to cut out the wavy piece which needed to have a lighter piece of wood running through the center. To achieve this I first cut out sheets of wood to the correct thickness on the bandsaw, I then roughly cut out the shape in each piece of the wood then glued the three pieces together. Once dried, I cut out the piece and sanded it to the exact shape I needed.


Once the wooden piece was finished I cast it in addition cure silicone. Unfortunately I didn't have enough to cover the whole piece so I ended up using a rather random mix of two other silicones. Fortunately they were both addition cure otherwise it would have made a huge mess!

😬

Unfortunately after this I forgot to take any more photos, but I'll walk you through what I did next. After I had extracted the wooden piece from the mould I poured in my clear polyurethane casting resin. I waited until this had set (Around 24hrs) and then took it out of the mould, but unfortunately the cast did not come out clear as I had wanted. This was probably down to two reasons: 1: The silicone had seeped into the grain of the wood and created a textured surface on the mould. 2: I didn't degas the resin so it was filled with bubbles when it set.
I didn't have enough material or time to cast again so I spent alot of time making the failed one look as good as possible. I sanded the thing to hell (up to 2500 grit sandpaper) and then used a lacquer spray to bring out the shine. In the end the piece didn't look too awful, however I've learnt my lesson and shan't make the mistakes I mentioned above again.
To finish the wooden piece I used boiled linseed oil and created a little stand for the snail.
I hope you enjoyed reading about my latest project, the next update will be in about a month or so... It's going to be a good one!
No comments:
Post a Comment