I made a wooden Iron Giant! Check it out.


To begin the Iron Giant build I decided to make a sketch model from foam board. I found a 3D model of the Iron Giant which can be found on GrabCad here: https://grabcad.com/library/the-iron-giant-1. I used this model to make plans for each individual piece - more on that later.


To begin the Iron Giant build I decided to make a sketch model from foam board. I found a 3D model of the Iron Giant which can be found on GrabCad here: https://grabcad.com/library/the-iron-giant-1. I used this model to make plans for each individual piece - more on that later.


After making a few parts of the giant from foam board I realised that as the material is so different from wood it wasn't really helping me visualise how I was going to make the real one. Concluding that this was a waste of time, I decided to buy some scrap wood and start making a quick sketch model of the foot.


This process helped me immensely as I was able to get a feel for how the material reacts to cutting/sanding/gluing ect. Every piece on the model has some sort of angle, bevel, chamfer and they all need to be crisp and accurate, so practising on the foot which has a lot of these was a great help. I've not really worked with wood to this level of accuracy before so it's going to be a challenge!
I printed out a full scale version of the giant and glued it to some foam board which helped me to see how all the pieces fit together, it also helped as motivation to finish the project as it just looked so damn cool!

We were then shown how to use the milling machine which was incredible! Holy damn I don't know how I ever lived without it, the levels of precision you can accomplish with this thing are incredible. My whole thought process when it comes to visualising how I would approach making something has changed. This project would have been extremely difficult and certainly a lot less successful without it.

Also before starting construction I bought a huge sheet of mdf and cut it into strips of varying sizes and lengths to use as sanding sticks. If there's one thing I've learnt, you can never have too many sanding devices! After all, this profession is almost 95% sanding.

So after building the sketch foot, I started to make the real ones. I began by making blueprints from the 3D model I found. As the pieces of the iron giant are so complex It would have been very tricky to make them without blueprints of each piece from every angle.

So here you can see that the rough shape of the foot has been cut out. I have transferred the blueprint lines onto the wood and am starting to shape the angles with sandpaper.

Here is a picture with one side shaped and the other not. Getting the angle between the curved edge and straight angle was quite tricky!


I also use masking tape to stop me sanding too far and achieve a nice crisp edge.

Sanding sticks coming in handy.

Both feet are done! I still need to do a final light sanding to remove the pen marks.
I also needed to make the soles of the feet so I cut out the general shape on the band saw and sanded the edges smooth. The soles also needed to have ridges cut into the bottom so I threw them on the milling machine and cut them out.


Here are the ridges milled out, I'm also using an extractor table as I sand them smooth. Dust ain't your friend.
I also milled out a space in the sole of the foot for a magnet to slot into. I decided I really didn't want the model to have any visible support so decided to use magnets in the feet.

I also milled out a space in the sole of the foot for a magnet to slot into. I decided I really didn't want the model to have any visible support so decided to use magnets in the feet.

Now onto the bottom part of the legs.. Again I transferred the blueprint measurements onto the rough cut wood and started to sand away.


I drilled out the half hole in the bottom using the mill, I also drilled a hole in the top to accept the top part of the leg. In this picture I'm checking to see if the connecting rod fits.

Here I am sanding a flat part into the leg which is part of the design of the robot. I first used a hacksaw to cut into the leg, then sanded away the rest of the wood. Again I am using my masking tape technique to achieve crispy crisp lines.


Blueprint vs reality comparison. I still need to make the connectors for the feet and legs.
Here is the leg pin attachment.


I milled a hole in both the foot and the leg attachment. Both pieces peg together and will be glued at a later stage.
Next I jumped onto the lathe and started to turn the leg pins.


Here is the first part slotted into the lower leg.

I then began to make the other pieces of the leg pin on the lathe. Once they were finished I put them on the milling machine and drilled out a hole so they could accept the cherry dowel. In hindsight I should have just used the lathe and used a drill bit in the tail stock, but didn't realise you could do this until later.


It turned out that I hadn't drilled the hole deep enough in some of the pieces so I ended up having to sand away a lot of material, this was quite a tricky process due to the awkward shape and size of the pieces and the outcome was not particularity great.
I learnt a lot while making this piece and due to my lack of experience with the machine the piece didn't turn out too well. However I am now aware of better methods for achieving the same outcome and was able to use this knowledge during the rest of the build. If I'd have had the time I definitely would have made the pieces again.
I next moved onto building the part which which joins the legs together. This piece was going to have to be made on the lathe. I started by cutting out an oak disk that was just slightly larger than the piece I needed. I then glued on a piece of scrap pine, this will be used to hold the piece in the chuck.


Ta-Da! The next piece to make sits inside this part. Precision time boyss.
I didn't buy enough Cherry to make this piece so I ended up having to glue on extra pieces. I was worried that they wouldn't blend too well, but I turned out quite well fourtunately.

Here you can see my measurements for cutting out the circle on the lathe. Every millimetre I take a measurement, giving me the curvature of the sphere.

Remember I need this piece to fit through the other piece so I made the sphere into a cylinder about half way though, as you can see here. These pieces look quite rough as they still need to be sanded.


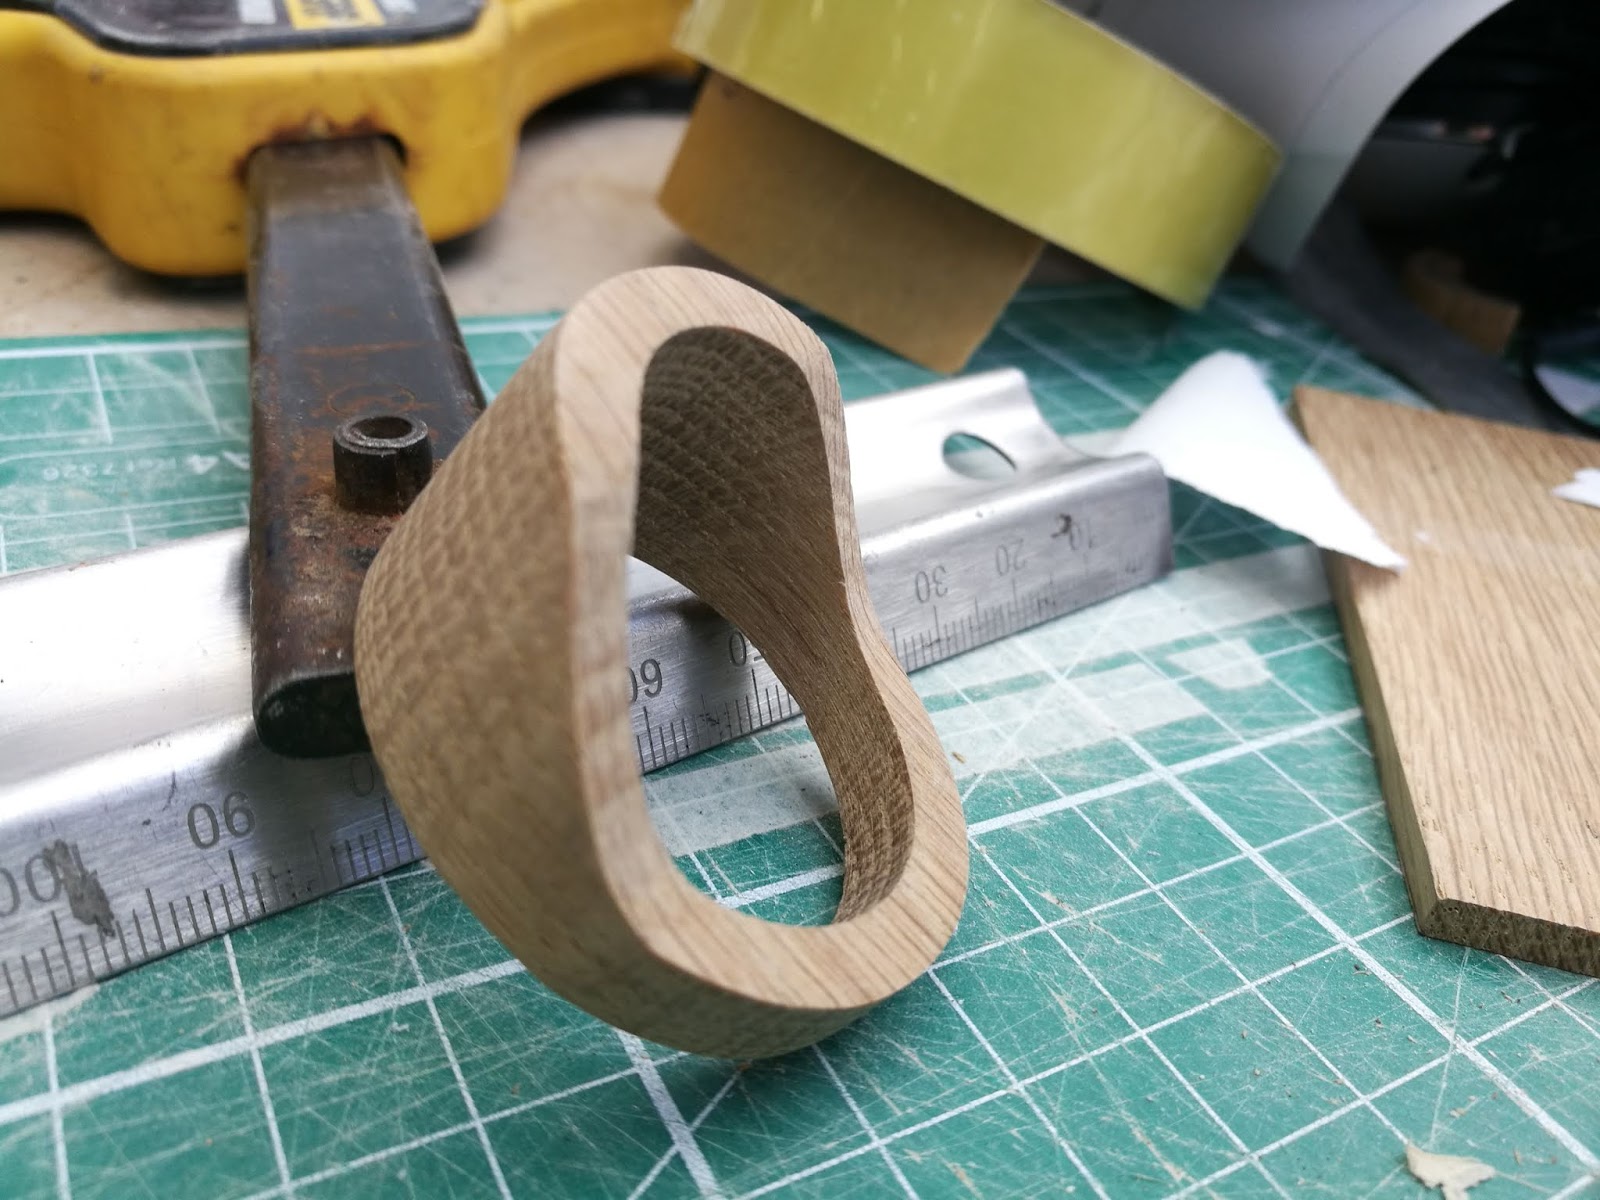
Next up was the piece that goes around the hip piece. This was quite a complex shape as it needed to be hollow, cylindrical, and have a very specific profile.
I began by fist cutting out the parameters of the shape, the cutting out the profile using the band saw and bobbin sanders.

I then used the part I'd cut off to hold the piece at a right angle while I was sanding the piece to a circle on the band saw. If I'd have tried to do this without the support from the other piece I would have ended up with a misshapen circle.

I then had to hollow the piece out which proved to be quite hard. I first tried using a spade bit, which didn't work as there was too much pressure on the tiny piece and it exploded. Fortunately I managed to collect all the pieces and glue it back together.

For round 2 I decided to use the pillar drill and cut out tiny holes all the way around, and then use a coping saw to join them all up. This worked on the first one, but then the second also exploded. I decided I needed to start again and rethink the order of operations...


..Then cutting out the profile

And then shaping into a circle. (see in other picture I used some foam board to keep the piece at a right angle).

Here are all the pieces joined together.


I then made the centre pelvis piece which joins the two hip pieces together. This was just made from a series of pieces cut and glued together. I milled out a hole in this piece to accept the hip pieces.


Turning turning.

Lots of lovely shavings.


So many blueprints!!

I first glued together two pieces of Oak as the shape was too big to fit inside one piece.

I then went into Fusion360 and re-designed the entire piece as it was far to complex for making out of wood.

I took a lot of time to make sure the piece was exactly square on every edge before staring to cut anything out. I glued my blueprint onto the front of the piece and cut it out using the bandsaw.


I used the milling machine to cut out the inset on the top.


To make the strips that sit inside the inset on the top of the chest I first cut sheets of 2mm walnut on the bandsaw. I then sanded all of these to get rid of the marks left by the machine.


I began by cutting out the perimeters of the shape, then cut out the profile, then the oval shape. I cut into the shape on the bandsaw and cut out the centre. I then refined this cut on the bobbin sander until it was the same thickness all the way around.

I then made the cylindrical tower that holds up the chest. I cut one sheet of cherry and oak to the correct thickness, sanded and then stuck on the circle patterns.

I made a sanding jig to sand the edges of the circles so I wouldn't make any flat spots while sanding.


Here is what all the pieces look like all together (upside down).


After this I designed the S badge in Rhino and printed it out on the SLA printer.


I first cut out the side profile. To cut out the front profile I stuck the font blueprint onto some mdf and then used double sided sticky tape to attach in to the front face of the piece. This allowed me to accurately and quickly sand away the front profile.


I then stuck the bottom profile onto the bottom face and sanded away.

Here is the top part of the head ready for sanding.


I then began to make the arm pieces which were turned in ash. This time I was much more experienced on the lathe so the pieces turned out so much better, they also took a lot less time to make!


Lots of arm pieces! I just need to cut them from the chuck piece and sand.

I also turned a piece of cherry dowel to a smaller diameter to fit inside the arm holes.


After finishing the arm pieces I went on to make the shoulder blade parts. This was done using exactly the same method as the hip blades. I first cut out a hole using a large holesaw bit, this created a lot of smoke as I was cutting through so much wood at once, the bit wasn't particularly sharp either.

I then cut the profile and sanded the circle cuing the piece I just cut off as a rest while sanding.

After this piece was made I began to make the neck. I cut some oak to the correct thickness and then cut out a series of disks.

I cut a hole in the head so the neck could be inserted, this was quite nerve racking as I wasn't sure the head would be able to take the pressure of the drill bit. However all went to plan and the neck fit perfectly inside the head.

I also cut a hole in the walnut strips so the head would fit flush with the main surface.


After this I began to make the hands which were actually surprisingly simple to construct. I cut out all the individual pieces on the band saw and then sanded them to the correct size on the disk sander. I had to use a jig on the sander as otherwise the pieces would fall through the gap between the disk and the platform. After this I hand sanded them all to the correct shape and smoothness.

I shaped the palm of the hand with a file and sanding sticks.


Before leaving the studio for the evening I did some testers of the Danish Oil, Boiled Linseed Oil and Wax and left to dry overnight. As expected, the Danish Oil turned the Ash very yellow, while I very much liked the effect it had on the Oak and Walnut. I decided I would leave the Ash bare while treat the Cherry, Oak and Walnut with Danish oil.
After finishing all the wood I then began assembly. Here is a picture of all the pieces before I started gluing them together

Mid glue up..

Nice Job, I still want a milling machine, they are so useful.
ReplyDeletedo you have bluepoints for this? what is the cost? it looks like very good thing to make. send me an email with any info you can provide. thank you very much. I can make anything out of steel and have a hard time cutting a straight edge on wood with any type of saw.
ReplyDeleteBeautiful work! Congratulations on the fantastic finished product.
ReplyDeleteIs this GORGEOUS wooden Iron Giant for sale by chance?! I would LOVE to add this to my Iron Giant collection! Please consider it and let me know... thank you. Dave
ReplyDeleteUltimateIronGiant.com
Wow! Good documentation, beautiful work.
ReplyDeleteImpressive work ! Respect !
ReplyDeleteAWESOME ;:D
ReplyDeleteGreat work, excellent "work in progress" pictures
ReplyDeleteBetter than most "professional" work I've seen
call me when in town
Henry
This comment has been removed by a blog administrator.
ReplyDelete
ReplyDeleteSuch a nice & useful post. Really happy to see such post. I have come to know about many new ideas. I will try my best to implement some of them. Thanks.
How to Use a Dremel to Cut Glass?
ReplyDeleteit is really helpful. the information in this article is satisfied me. And the information it is very interesting. Thanks for this kind of article.
How to Use a Dremel Tool?
ReplyDeleteAwesome story! Congrats on the successful team work!
How to Carve Wood with a Dremel Tool?
Nice job, when I first saw it I thought it was mine! Even the choices of timber were similar
ReplyDelete